

Don’t call it a comeback! Last weekend we smashed into the first 2-day event here in Australia since lockdown, the 5-Round “End of the Everwinter” in Canberra, hosted by Michael Thomson.
This week I’ll kick off with a self-indulgent personal recap, then follow it up by interviewing with the two players who went 5-0 at the event, Joel Graham and Corey Beilharz.
Ready? Let’s go.
Attendees and Venue
Jolt Games in Canberra were our hosts. They’ve got a great setup there, with loads of tables: over the weekend you could see games of Warmachine, Infiniti and some epic-scale historical thing that looked breathtaking.
My own list was Stonehorns, pictured at the top of this article with the custom Murderhorn (based on the Dread Maw):
The event had a COVID-safe cap of 40, which translated to a solid turnout of 36 on the day. As well as a strong local presence, the event pulled in a big crowd from Victoria, and I even managed to keep my step count up for the day by strolling all the way down to the bottom tables and checking in on the Sydney contingent.

Jokes, jokes. Hopefully it doesn’t need saying, but the last thing the world of Warhammer needs is another Twitter drama, so for avoidance of doubt it was awesome to see the guys from NSW. In particular this was the first time I’ve had the pleasure of chatting with James Maybury in person, and he’s an absolute darling, so shoutout to James for being the friendliest person at the event.
Meanwhile AOS Coach picked up joint Coolest Army for his kickass Kickers tribe, coming at you on a coastal display board complete with a working smoke machine:

Niceeeeeeee.
Day 0
A trip to the Australian Museum, an Asian buffet lunch, a couple of beers over a game of darts at the Robert Burns Club, some Black Friday bargain shopping: Ferris Bueller can get fucked, this was Peter Atkinson’s Day Off, and big thanks to Michael for showing me around his city.
A group of us stayed at the same hotel, and Canberra has electric scooters everywhere that you can jump onboard…so we did! Zipping around on them was good fun, and we zipped right over to a bunch of food trucks for a taste of Peru and a couple of local beers.
Next up it was time to head over to the campsite and join up with the Bendigo crowd: the beers were cold, the boombox was metal, and when we left them to it there was still a hardcore going strong. Fair to say there were a few bleary eyes the next morning.
Day 1
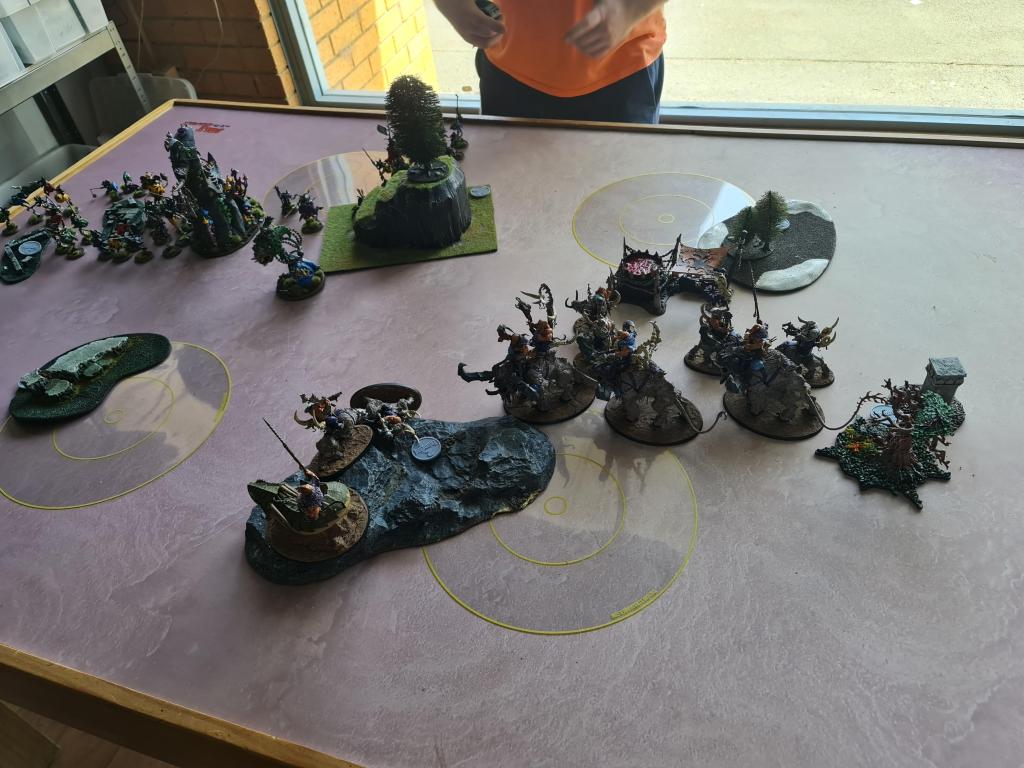
Game 1: Cody Howden, Gloomspite Gits
Battleplan: Total Conquest
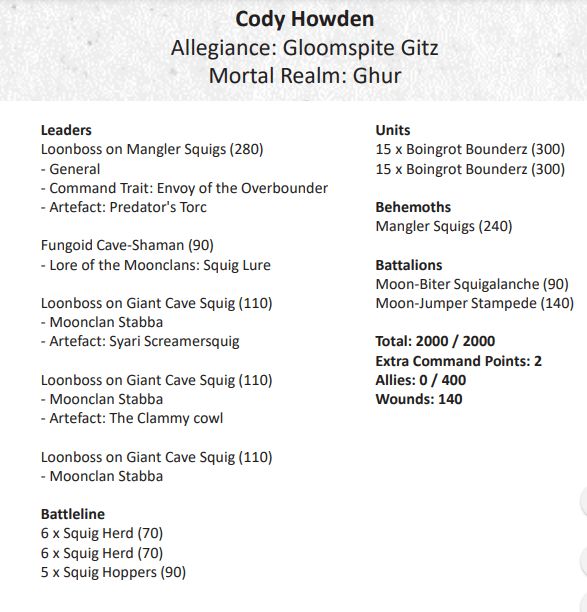
Check out that Loonshrine! Working LED lights, very smooth.
Some people don’t like playing random lists, but let me tell you: Squigs bring the random to you, whether you like it or not. Running through his threat ranges raised some eyebrows: in a perfect storm, the Manglers can move 33″ before charging, and then hit you like a ton of bricks. Or a wet noodle – who knows?
You can’t eliminate risk against an army like that, just manage it, and in this case it meant offering him acceptable turn 1 charges while setting up other units conservatively, preparing for the counter punch. This two-dropper was the only time at the event that I didn’t have choice of going first, so I deployed a unit of Beastriders front and centre as a credible threat if I was required to go first, and a tempting target whose loss wouldn’t cripple my army if my opponent took priority.
Cody took the bait, and came crashing across the table towards me. It was all downhill for him from there. He rolled like a spud and did no real damage to speak of, losing a Mangler for basically no return. I cleaned up a couple of units on my own turn, and then it was a big priority – which I won. Cody definitely didn’t need to lose that one, with the result that the game was really a mopping up operation from the turn two onwards.
If anyone reading this is interested in playing Squigs, my 2 cents is that you need to pick and stick: if you are running large blocks of Boingrots, they need to be charging every time. That means giving yourself the tools to engineer that charge: specifically, Squig Herd, and plenty of them. Your cav isn’t lightening fast, but it does fly, so you need to be advancing behind those meatshields and then springing out to deliver your payload. Cheaping out on chaff in this build will just leave your Boingrots adrift and waiting to be cut down, so I’d point you towards something like my own Colossal Headache list if that’s a direction that appeals.
The second competitive direction is the all-out alpha boing. There’s no real room in this build for Boingrots or Squig Herd, because you want that 3D6″ rerollable baseline movement over and over and over again. That means Manglers, and Hoppers, and more Manglers and more Hoppers. With unit after unit after unit having reroll after reroll after reroll, you hit that critical mass of opportunities where it’s your opponent who’s praying for miracles, not you. Hoppers hit perfectly hard now with the Battalion benefit, and crucially, they get there.
This may well be the most competitive method for buliding a Squig list right now, as exemplified by the great success Adam Slovak has had with his army; check it out on AOS Coach right now:
I did chat about this briefly with Cody, but the random element of this army just isn’t for him, so he’s moving on to Lumineth next which might suit his playstyle a lot more. Cody was a fantastic opponent and we checked in on each other across the two days, so I wish him great success with his next adventure. 1-0
Game 2: Ian Pearce, Kharadron Overlords
Battleplan: Scorched Earth
Next up was Ian and his KO:
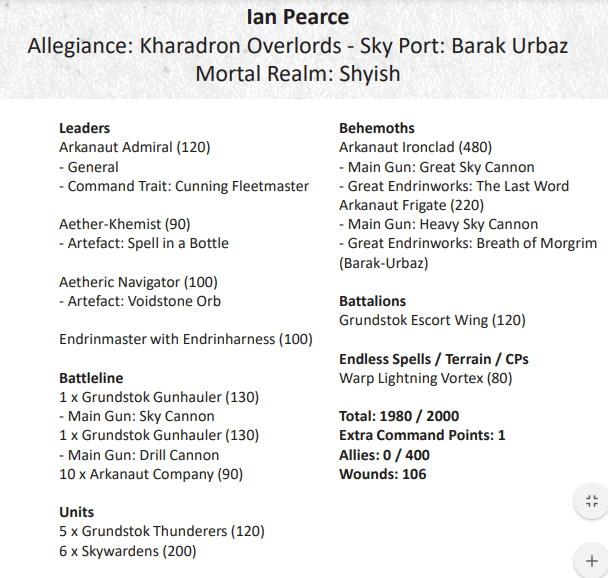
I’m fairly comfortable in the matchup, because it’s one I get practice against locally, so amongst the teleport ‘n’ bang armies that are currently hoovering up podiums worldwide, I’d take KO over Seraphon and Tzeentch every time.
Ian used his pregame redeploy to get right up in my business, dropping his Frigate with a Khemist front and centre. I’m guessing the logic was to give me a dilemma: go first and risk being double-turned by KO, go second and he’ll jam the Warp Lightening Vortex where the sun don’t shine.
In the end I chose to go first, charge the Frigate and smack that Khemist upsides the head. Along with the hitching balloon boys, it was a big enough target to tempt me in, and it did deal an early blow to Ian’s plans.
Scorched Earth is a total headfuck, in a good way: the huge number of objectives to contest, and the extra question over when exactly to burn them, gives you so many decision points, especially when those Gunhaulers can pop from here to way over there whenever they damn well please.
One of my Auxiliaries involved killing the Ironclad, and I thought I had that in the bank when I combo charged it with a Murderhorn and a Metalcruncher; mortals on the charge, more mortals on the charge, mortals at the start of the combat phase and a whole barrage of rend -2 damage 4 attacks. The bastard thing spiked a huge number of 5+ saves and survived on 1 wound (before of course healing itself back up), which didn’t cost me the game, but did cost me my only dropped Auxilliary of the event. That would come back to haunt me later.
This was a game of bobbing and weaving, spreading out and pulling resources around. When it all came out in the wash, my Mournfang had been able to be in enough places at once that Ian (who, by the way, is an absolute gentleman) could no longer reel me in on VPs, and I finished up with the Major Win. 2-0
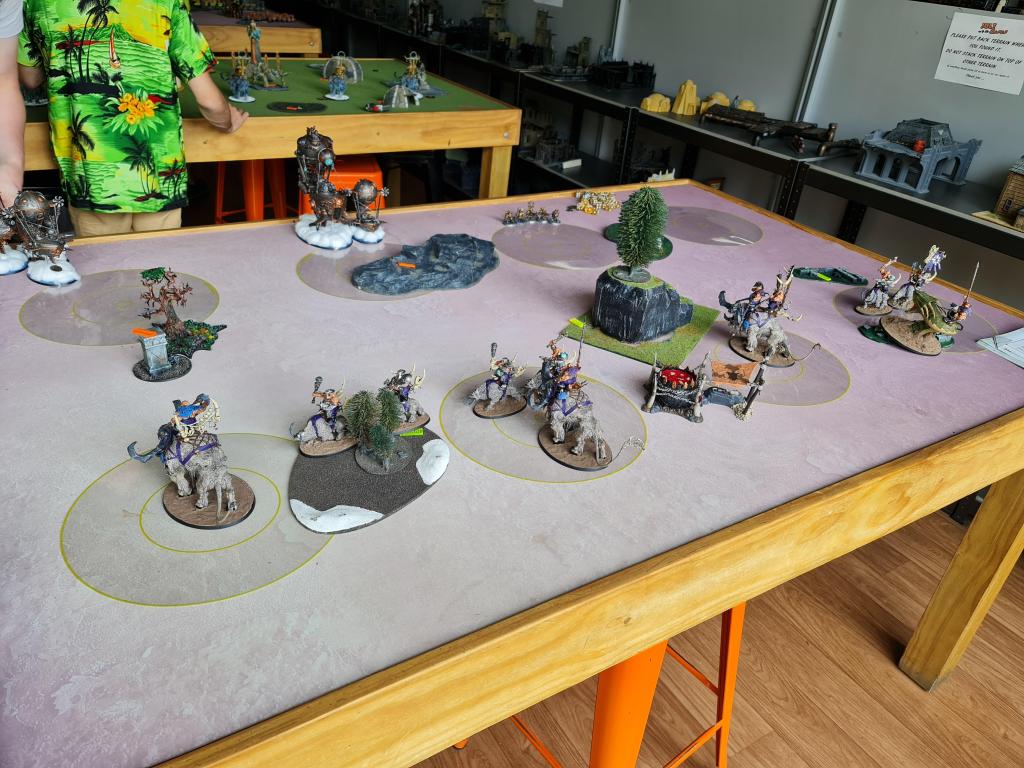
Game 3: Corey Ford, Sons of Behemat
Battleplan: Focal Points
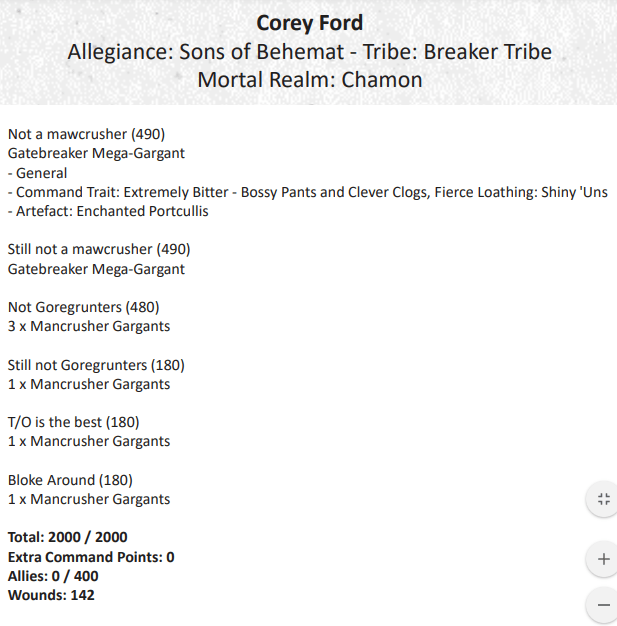
You know who expects to win every game they play on Focal Points? Giants.
You know who also expects to win every game they play on Focal Points? Stonehorns.
Somebody was going to be disappointed, because both of us would have been within our rights to look at the pack and see this as a favourable mission – but I was still confident going into the game, because I do think Eurlbad is just a better army. Time to put that theory to the test.
I have a few things stacked in my favour: lower drops, mount traits, the availability of Battalions, faster units, better saves, more artefacts, a triumph, something approximating chaff. Added together it means the Stonehorn player can dictate terms, pick his battles, swamp and overwhelm key targets and all in all, it’s honestly a bloody hard matchups for Giants.
Easy win then? Yeah, not quite. Corey flung his whole damn army down my throat from the get-go and with a bit more luck, he might have pulled it off. Activating Alvagr Rune Tokens at the right time for those rerollable saves rescued my ass, but really it was a question of swarming on one Gatebreaker at a time. A Murderhorn will come bloody close to one-shotting a Mega-G; a one-two punch BAM BAM from a Murderhorn and a Metalcruncher, and they never even see it coming.
The Mancrushers are made of paper and often die with a whimper to even minimum Mournfang, so I really do think Stonehorns are heavily favoured in the head-to-head; still, it was an eye-opening experience for units with a 4+ armour save to not even get to roll a dice against the Breakers’ attacks.
Me and Corey go back years so we sat and chewed the fat for a good while after the game. Three-zip overnight and looking forward to what the next day brings, we all headed off to the Old Canberra Inn. It was a pretty relaxed night with a live band and a good feed – most people were taking it easy after a pretty loose Friday, and it was good to get talking with the local Canberra crew. 3-0
Day 2
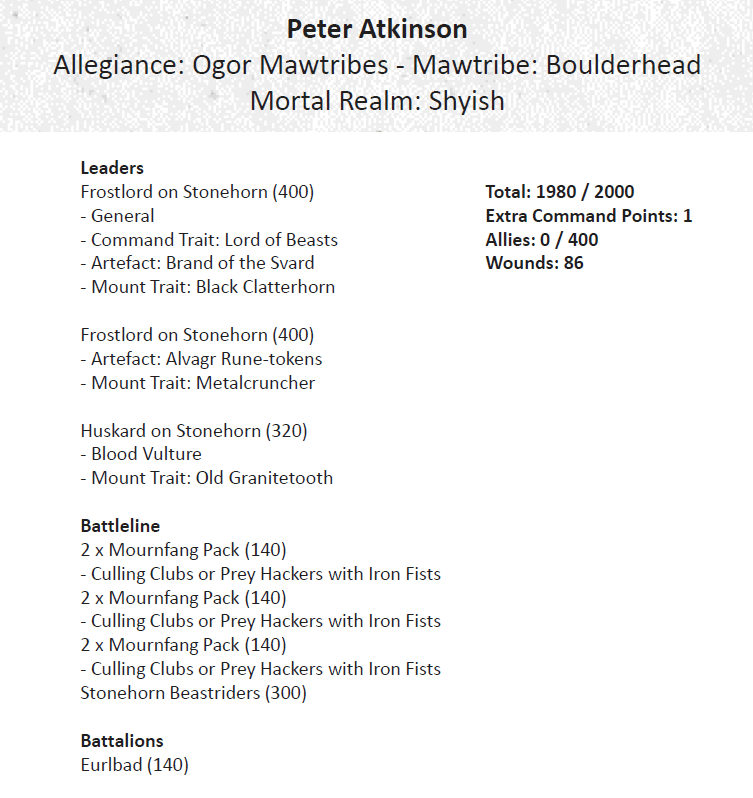
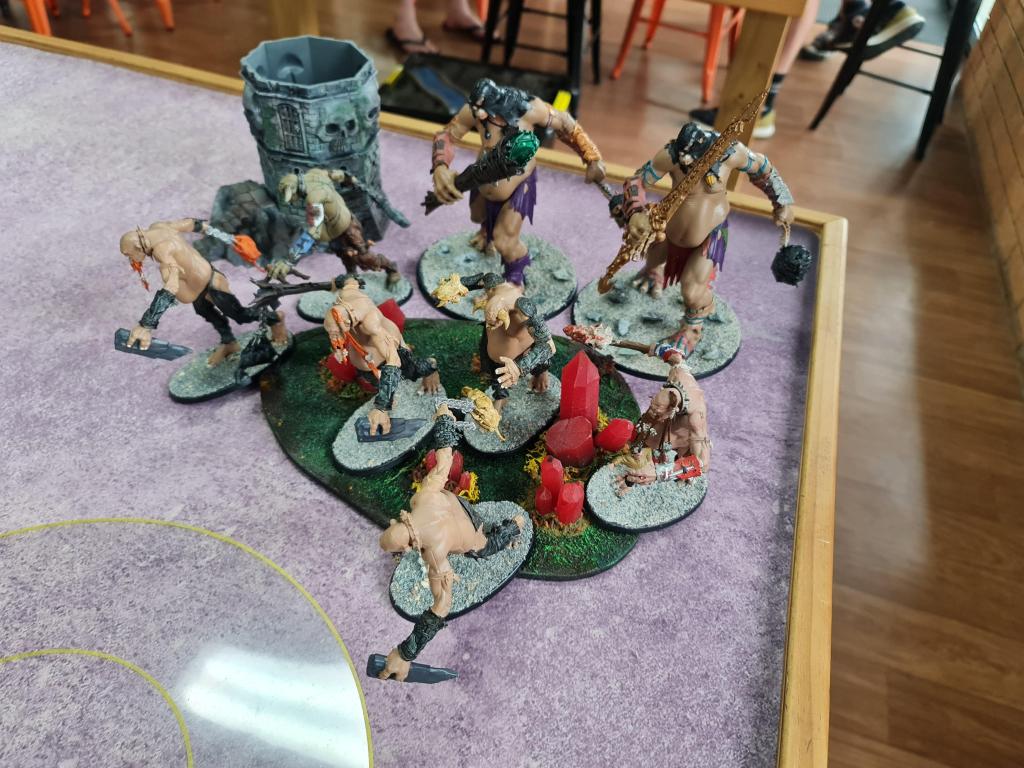
Game 4: Matt Kent, Ogor Mawtribes
Battleplan: Total Commitment
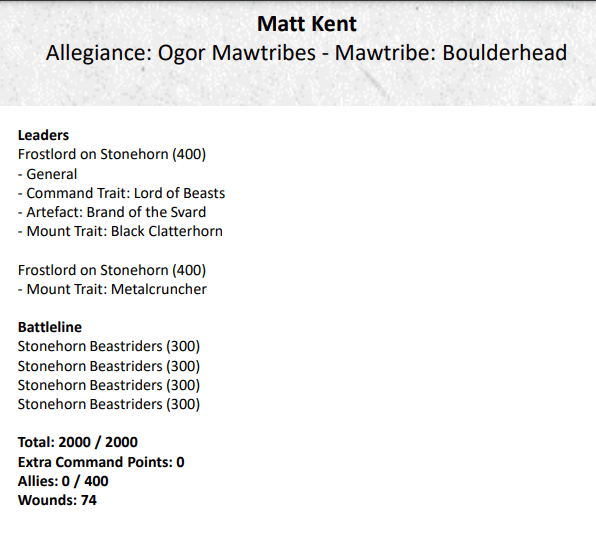
Yeah man, that’s a lot of Stonehorns! It’s the list every Tyrant has dreamed of running, and Matt is all about making dreams come true. Fresh from spanking Chris Welfare’s double-Crawler OBR, Matt wasn’t here to muck about.
My plan in this one was to stretch Matt’s resources by running the Mournfang out wide, so he couldn’t leave his home bases unguarded; that alone evens up the odds at 4 vs 4 Stonehorns.
My biggest danger in this one was that Matt might refuse to engage, so my strategy there would be to reshuffle my army mid to late game, creating a train of 6 Mournfang moving up and along a board edge with two Frostlords in behind, so I could guarantee the double charge and blow up one objective late on. But it didn’t come to that, partly because my bait of Beastriders and Mournfang was dangled invitingly, but mainly because Kenty didn’t come here to fuck spiders.
We both effectively had one strong side and one soft side: on my top edge I had my Baitriders with some Mournfang, on my bottom edge I had a Murderhorn and a Huskard, with my Crunchorn set back and poised to counter charge whatever came at my soft side.
Matt smashed up the Baitriders and grabbed my top objective turn 1, but the Mournfang chipped a fair bit off him in return. The Crunchorn stepped up and cleaned up my home base, while the Mournfang retreated to rebuild a screen in front of him; meanwhile on my strong flank, the Super Smash Bros stepped forward and whacked a Frostlord. I wasn’t on his points yet, but I was threatening them. Big priority coming up.
I get it. The Crunchorn activates Alvagr, the Mournfang get the hell out of the way and he duly steps forth to murderfuck the Murderhorn; the Super Smash Bros beam in on the lonely Beastriders guarding Matt’s home base and stamp it into the ground. We’re already down to a couple of leaderless Beastriders versus the best part of an army at that point, and shortly afterwards he shook my hand.
Matt hadn’t really done much wrong in the matchup except getting outdropped and double-turned, and good on him for making it an exciting fight, but it does perhaps illustrate how it can actually be more fun (and not less) to run at least a small amount of chaff in your army; having to leave Stonehorns back to tap your own objective isn’t ideal, and a couple of Mournfang really liberates your ass-kickers to go forth and multiply.
It’s the third time I’ve played Matt now and I hold a slender 2-1 lead, so I’m looking forward to plenty more stories to be told in the rivalry. 4-0
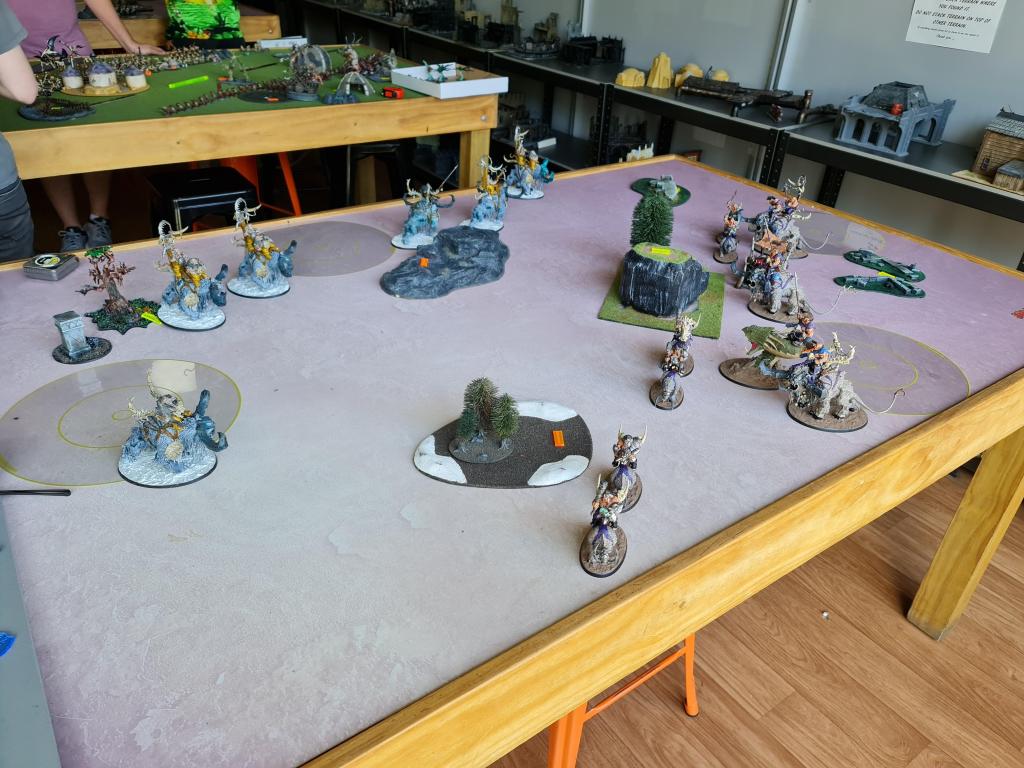
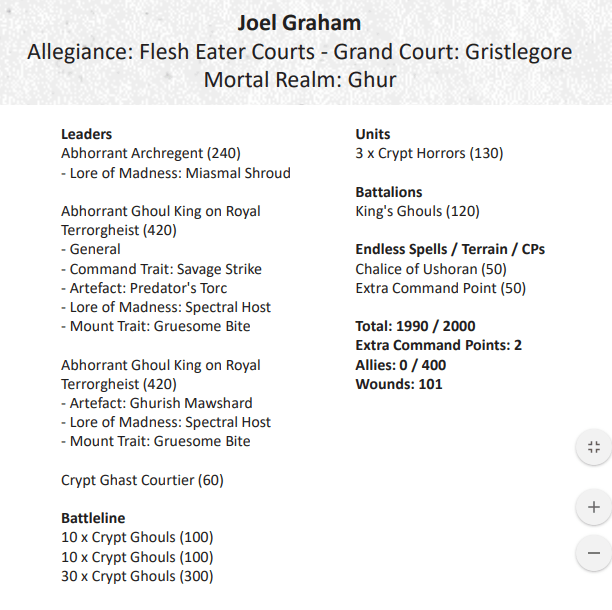
Game 5: Joel Graham, FEC
Battleplan: Forcing the Hand
So here we are, Table 1 Round 5 and playing for the win. There were three of us on 4-0 at that point: me, Joel and Corey B with his Changehost, so two of us would play each other and the third would play against the best 3-1.
I had been hoping that KO would shoot Joel off the table so I didn’t have to deal with him, because Gristlegore specifically dunks on combat armies; fighting when they die really clinches the deal. But Joel had navigated his way through the field with his trademark swagger and success, so here we were. We knew going in that we were both doing well on tie breakers so the winner wins the event. Let’s go!
Strategically it’s a tough proposition. As a Stonehorn player, you can often turn even bad matchups into a coin flip: make them go first, smash into their screen, win the priority and start thrusting. That’s broadly a recipe to go 3-2, so I try to avoid it unless absolutely necessary, but in this case it was definitely on the agenda; sitting back and waiting to get ripped apart by Terrorgheists is not a winning strategy.
I was also well aware that Joel was unlikely to let that happen, so I wasn’t going to win this game without getting lucky. My strategy therefore was to put myself in a position where I could get lucky.
Broadly speaking, if I could get one-for-one trades of Stonehorns to TGs that was good; if I had to trade two for one that was bad. Not trading at all (and just losing Stonehorns for nothing) would be catastrophic. The dream is being left with two Stonehorns to rampage through his army from the mid game onwards – if I can get in that position, he’s in trouble.
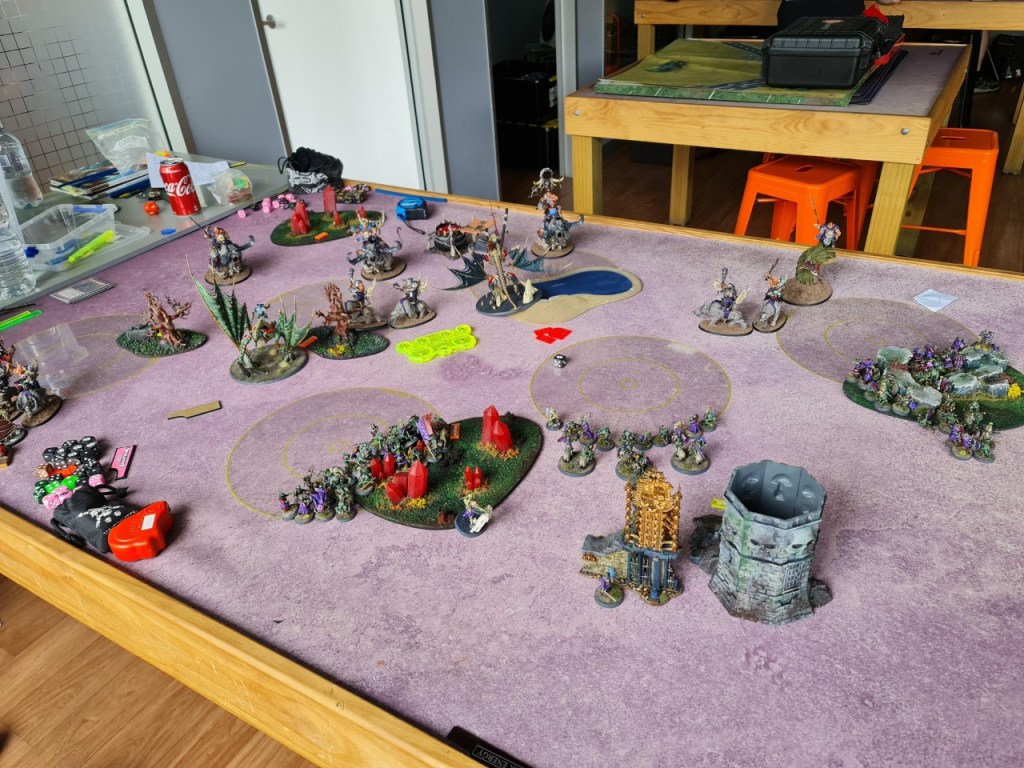
There was a big piece of Commanding terrain in the centre of each deployment zone, so I couldn’t deny Joel that by choosing sides; I took Shyish as our Realm instead, to deny Joel the extra speed that comes with Ghur, and give myself a shot at a lucky unbind.
I positioned my two Frostlords out wide, my Chaffhorns in the centre and the Mournfang up front. My Stonehorns were well back so he couldn’t hit me without a decent charge (I was more than happy for him to crash into my Mournfang), giving me an opportunity to get lucky and see him fail his charges.
Joel had a pretty poor magic phase, but rolled well on his run rolls and strutted up the board with purpose. He failed a charge, spent a CP to reroll and got both TGs where they needed to be. I was now looking down the barrel of four pile ins before I got to do anything in reply: Fight first then fight again with his General, then rinse and repeat with the second Terrorgheist. Time to clench.
When the smoke cleared, Joel hadn’t rolled all that well, and I had a chance to punch back. I won’t bore you by going through every single combat but there was a critical sequence: I left a TG on one wound, but I was still confident I could kill it without needing to throw in another Stonehorn (which I would in turn lose to Joel’s unit fighting when it dies).
I send in a Vulture. He saves it on a 6++. Next opportunity was making an 8″ charge with Mournfang, which would seal him in and soak up the retributive pile in; they failed the charge, and then failed the reroll. I still had a chance though: I just needed one bounceback Mortal Wound from the other Mournfang unit’s Ironfists. I got it…and he got the 6++ Death save again.
I had no other option at that point than committing another Stonehorn and just praying he rolled crap in return. Joel rolled his four dice, hit two 1s, a hit and one solitary 6. He rerolled both of those 1s into 6s for 18 Mortal Wounds, and that’s all she wrote.
Did I get unlucky? Actually, no. It’s easy to focus on a couple of spiky dice rolls (and it makes for a dramatic story), but the truth is I was lucky to be in that position at all. With the sheer number of pile ins that Gristlegore delivers, Joel was bound to spike at some point; if anything, I was lucky that his one good roll came late in the sequence, so I had opportunities to spike myself inbetween. Joel had some poor casting rolls too and all in all, the dice landed pretty true across the whole game. I just needed them to skew hard in my favour.
When the dust settled, both TGs were dead, I had a Murderhorn rampaging around and Joel had some Flayers and Ghouls still wracking up the points. I reckon I had him sweating in the middle there, but when we played through to the bottom of 5 Joel was deservedly well ahead on VPs, something like 21-14 if memory serves correctly.
I want to take a moment at this point to thank Joel for a great game and a great experience. We were playing on the top table for the tournament win, and it couldn’t have been played in a better spirit. Joel went out of his way to remind me of his rules because he wants to beat you fair and square; he has a true warrior’s spirit.
A little example is that in the crucial combat phase described above, I thought Joel had two CPs left (so he could fight when he died then fight again); Joel told me he only had one, so it was just the one pile in, do or die on those four dice. With the whole tournament at stake, a lesser player and a lesser person could have totally gone with what I said and allowed himself the extra CP, so I salute Joel’s honour. You won it like a true champion mate. 4-1
The Aftermath
It’s often the case that the person playing for the win drops off the podium altogether; so it was here. Corey B won his final game to finish 5-0 and grab second spot. Meanwhile that dropped Auxiliary from Day 1 (when the Ironclad survived on one wound) meant that I got 9 out of my 10 for the weekend, and another player who finished on 4-1 but secured all 10 got the final spot on the podium. I came in 4th overall which is still a cracking result in a stacked field.
What’s next? I’m honestly ready for a break from AOS – I’ve been running pretty hard at it the past 18 months or so, and I’m due a change. I’ve been enjoying Marvel Crisis Protocol, and Star Wars Legion is really taking off locally. My plan is to lean into one or both of those for a couple of months, then see where my head’s at for Summer Smash (in February) and VIC GT (in March).
I’m also ready to put the Stonehorns on the shelf for a bit – I’ve loved running them, but my orcs are well overdue a hit out, and Squigs are calling me too. I’ll certainly attend VIC GT, and maybe both events, depending on where the game is at after the Winter FAQ.
Up next on the blog we’ll have interviews with both players who went 5-0 at the event: Joel Graham and Corey Beilharz. I’d love to say that I’ll take a Christmas break after that, but we all know I’ll be back here yapping on about Spiderfang soon enough, so until then: May Gork bring you strength, may Mork bring you wisdom.

On that list of “things that could have killed the TG”, did you also fail any rolls for Grasp of the Everwinter? That might have sealed the deal too.
LikeLike
Yeah that’s a good point, I did fail the Everwinter too. I always seem to get that when it’s just rubbing salt in the wound and I’m already on top, still waiting for that one game where it gets me out of combat in the Hero Phase! It’ll happen one day!
LikeLike
Great review plasticcraic! I mainly run gutbusters in my mawtribes lists but I’m thinking of adding more beastclaw raiders. Got my arse handed to me by fyreslayers with gotrek yesterday and think I need more than 1 stonehorn to get my revenge 😬
LikeLiked by 1 person