

Following on from last week’s Chaos list with Pat Nevan, I’ll be theory-crafting a Destruction list for you. Destro can cherry pick whichever one of the big boys they like, but I’ll lay my cards on the table now and tell you that I’ll be focusing in on Bundo Whalebiter, the Mercenary Kraken-Eater.
List Building Philosophy
There are a few reasons why I really like Bundo in Destruction armies:
- The biggest downside of the Mercs is that they only count as one model for capping (which is as it should be). Gloomspite Gits and Bonesplitterz both compensate for this by natively having plenty of models, wounds and screens in their arsenal.
- Another trade off is that you forfeit your normal turn 1 Command Point. Bonesplitterz can make up for this by generating one from the Wurggog Prophet (or taking a Battalion); Grots (which is my focus) don’t have any useful Battalions, but they do generate an abundance of CPs, and already enjoy innate early-game Battleshock protection near the Loonshrine.
- Bundo’s ability to reroll hits if he fights at the end of the combat phase dovetails nicely with tech that both armies have to make their opponents fight last (the Itchy Nuisance and Breath of Gorkamorka spells), so he’ll still get to swing first on your turn as well as rerolling everything.
- In Gits specifically, the Madcap Shaman’s Warscroll spell affects all friendly models, so you can make your Mega G -1 to be hit in shooting.
In both cases, we’ll be going for a control gameplan: with Gits that will mean stacking negatives to hit, and in Bonesplitterz it will mean running Bonegrinz Warclan for their no-retreat special rule.
Out of the two, I think it’s Gloomspite that I hear calling me: this is all about creating a list that is competitive enough to give you big moments with the big guy, and I have a vision of multiple objectives clustered around the Loonshrine for the late-game Yahtzee, nailing a 4+ to swamp the whole lot of them with a resurrected unit. Let’s chase that dream.
The List
Allegiance: Gloomspite Gitz
Leaders
Loonboss (70)
– General
– Command Trait: The Clammy Hand
Fungoid Cave-Shaman (90)
– Lore of the Moonclans: Itchy Nuisance
Madcap Shaman (80)
– Artefact: Moonface Mommet
– Lore of the Moonclans: The Hand of Gork
Webspinner Shaman (80)
– Lore of the Spiderfangs: Sneaky Distraction
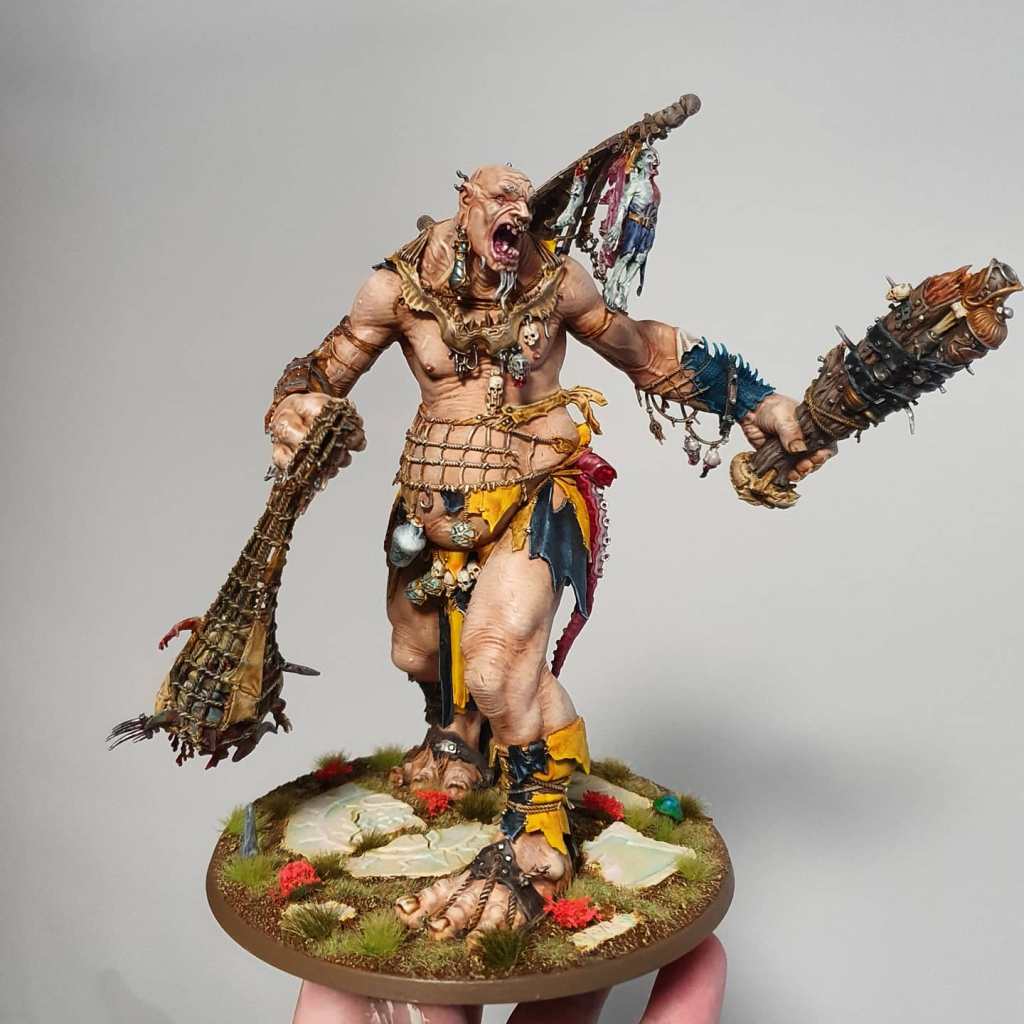
Bundo Whalebiter (490)
– Allies
Battleline
60 x Stabbas (360)
– Pokin Spears & Moon Shields
60 x Stabbas (360)
– Pokin Spears & Moon Shields
20 x Shootas (120)
Units
6 x Sneaky Snufflers (70)
6 x Sneaky Snufflers (70)
5 x Sporesplatta Fanatics (120)
Endless Spells / Terrain / CPs
Geminids of Uhl-Gysh (60)
Scuttletide (30)
Total: 2000 / 2000
Extra Command Points: 0
Allies: 490 / 400
Wounds: 221
How It Works
As mentioned above there are plenty of implicit synergies in here: you have 140 Grots on small bases (plus whatever you can rezz) swarming around Bundo’s ankles and racking up the scoring, while he gives you a mid-game source of Inspiring Presence that won’t die trivially. Early game we have native Battleshock protection from the Loonshrine to tide us over until the CPs start rolling in, and Itchy Nuisance works in so damn well with Bundo wanting to fight last.
We’ve got multiple layers of fuckery here:
- Neg 1 to hit from Netters
- Neg 1 to hit from Geminids
- Neg 1 to hit from Sneaky Distraction
- Neg 1 to hit in shooting from Night Shroud (Madcap Shaman; can be cast on Bundo)
OK so I guess that’s really just one layer of fuckery, but it runs pretty deep. This list knows exactly what it wants to do, and more pertinently, what it doesn’t want its opponents to do.
It’s true that you won’t reliably cast all of those spells from scratch (especially in the current meta), but even getting one or two of them off should slow your opponent down nicely. The double Snufflers are there in theory to each follow around one big block of Stabbas, but in practice they’re just as likely to perform the classic chaff roles of zoning out deep strikes or being the second unit on an objective when your frontline blows up. Honestly, at 70 points for 12 wounds, they owe you fuck all.
Buffed Stabbas with three attacks each and mortals on 6s to wound can put in some serious work, and kicking an objective into the middle of a pack of 60 Grots at -3 to be hit would be a lot of fun.
For you. Not for your opponent.
Quite a few of our buffs “just happen” (the extra attacks, the banging mortal wounds, the “rend” from the Moonface Mommet) so although we are inevitably exposed to anti-magic – this comes with the territory with Gits unfortunately – we should at least have some game when we come up against the armies that just unbind with a click of their fingers.
The Loonboss has extended range on his mortal wound buff as your General, and the CT allows you to chuck two dice every turn at summoning back dead units. Other than Sentinels, you should generally be able to hide from shooting in the Shrine, but magic will often seek him out and you will sometimes lose him early.
I never said this would be easy – if winning games with Gits was easy, everyone would be doing it, wouldn’t they? On the flipside, a single good kick from Bundo can swing a lot of Battleplans at the best of times. What we have here is the chance to take that one step further: the Loonshrine can already cover two Objectives within summoning range on a lot of missions, so the chance to knock three or more around it and then hit the grand slam home run with a rezzed unit late game will be a whole lot of fun.
For you. Not for your opponent.
Another option would be to switch out the Fungoid and one unit of Snufflers for Zarbag, who can force out Geminids early and comes with his own chaff, but whichever way you go I think this is a sneakily competitive army and one that I intend to run. Not everyone enjoys the control playstyle, but if you do have the evil streak patience to make a go of it, I honestly think this list has some legs.
You’re not going to beat top players running Seraphon with this army, but on a favourable Battleplan it might just give you enough tools to beat some netlisting shithead.
What’s Plan B?
Another (similar) direction we can take is Bonesplitterz. They probably have a bit more under the hood than Gitz in the sense that Bonegrinz is already good, but on the flipside they really need those CPs early on to protect against Battleshock. Let’s see what we can do.
Allegiance: Bonesplitterz
– Warclan: Bonegrinz
Leaders
Bundo Whalebiter (490)
– Allies
Wardokk (80)
– General
– Command Trait: A Right Monster
– Artefact: Mork’s Boney Bitz
– Lore of the Savage Beast: Breath of Gorkamorka
Wardokk (80)
– Lore of the Savage Beast: Kunnin’ Beast Spirits
Wardokk (80)
– Lore of the Savage Beast: Brutal Beast Spirits
Wardokk (80)
– Lore of the Savage Beast: Gorkamorka’s War Cry
Battleline
30 x Savage Orruks (300)
– Stikkas
30 x Savage Orruks (300)
– Stikkas
5 x Savage Boarboys (130)
– Chompas
Units
8 x Savage Big Stabbas (400)
Endless Spells / Terrain / CPs
Extra Command Point (50)
Total: 1990 / 2000
Extra Command Points: 1
Allies: 490 / 400
Wounds: 222
Anybody who has faced buffed Big Stabbas will confirm that they are fucking ruthless. We’ve got a healthy wound count of 222 here despite jamming in not one but two big, dumb fun pieces, and a purchased CP to ride the wave of early casualties.
Bonegrinz is very easy to underestimate, but don’t sleep on that ability to switch off retreating: it’s a game-winner. The forced charges don’t come up that often, because your opponent can deny it by running, but I have had one truly wonderful moment when I forced some teleporting Chamo Skinks to charge out of cover and into my Boyz, which did not end well for the lizards.
Glorious.
Your playstyle here is Control ‘n’ Krump. You’ll stack up the saves and pin units in place: between the Wardances and Kunnin’ Beast Spirits, you should be able to get at least +1 to save on multiple units every turn. Getting those flying pigs in position early on is a big part of your win condition, and your opponents will have an uphill battle to get through 60 wounds of Green Delight on a 3+ 6++ save any time soon.
If you’re new to Bonegrinz, here’s a tip for ya: you will be looking for opportunities to tag and kite as much as to swarm and overwhelm. If you can spider out to bring an enemy unit within 3″ of you (but locked out of melee range behind their own screen), and if you can remove casualities to keep enemies just within 3″ (but barely getting any models into combat after they pile in) then you, my friend, are living the Bonegrinz Dream.
All the while you’re looking for the opportunity to slam down that big, green button and call the Waaagh! at the optimum moment. Once you’re in position, cast Breath of Gorkamorka and your Big Stabbas will fly over screens with their native run and charge to unleash hell, while your Savages go crazy with 4 attacks each.
Between the cat and mouse game of kiting and locking down units, kicking objectives around with Bundo and the wild abandon of 8 Big Stabbas going ham, Bonegrinz offers exactly the blend of intellectual challenge and ball-bursting insanity that we’re looking for here.
So there you have it! Let me know if you’ve got any plans to run these or similar lists – I could seriously see myself giving both a crack. And if you do: May Gork bring you strength, may Mork bring you wisdom.
Credit for the featured image at the top of this article goes to the legendary Tom Lees

Could one not just slot a merc into a SoB Army?
The idea of the Warstomper Merc backing up a Kraken Eater with the -1 to Hit actually seems handy to me.
LikeLike