by Seanzor
Sprue Goo. I’ve mentioned the stuff a few times before in articles, and I’ve been asked about it on numerous occasions…so now it’s time to dig in and make the stuff. Honestly it’s not that hard to make and even a lightly seasoned hobbyist can figure it out. Sprue Goo has a bit of a learning curve to actually use, so the first few times it may help to do it on something you are okay with messing up. But after you get the hang of the stuff you can really do some wild things with it. You can add more or less plastic to the glue to get thicker or thinner goo that can be used for different modelling concepts, even as wild as stringing raw plastic between wires to create wings, or pouring the plastic into molds to get copies of bits. Sky is the limit. Anyway lets dig in.
Materials
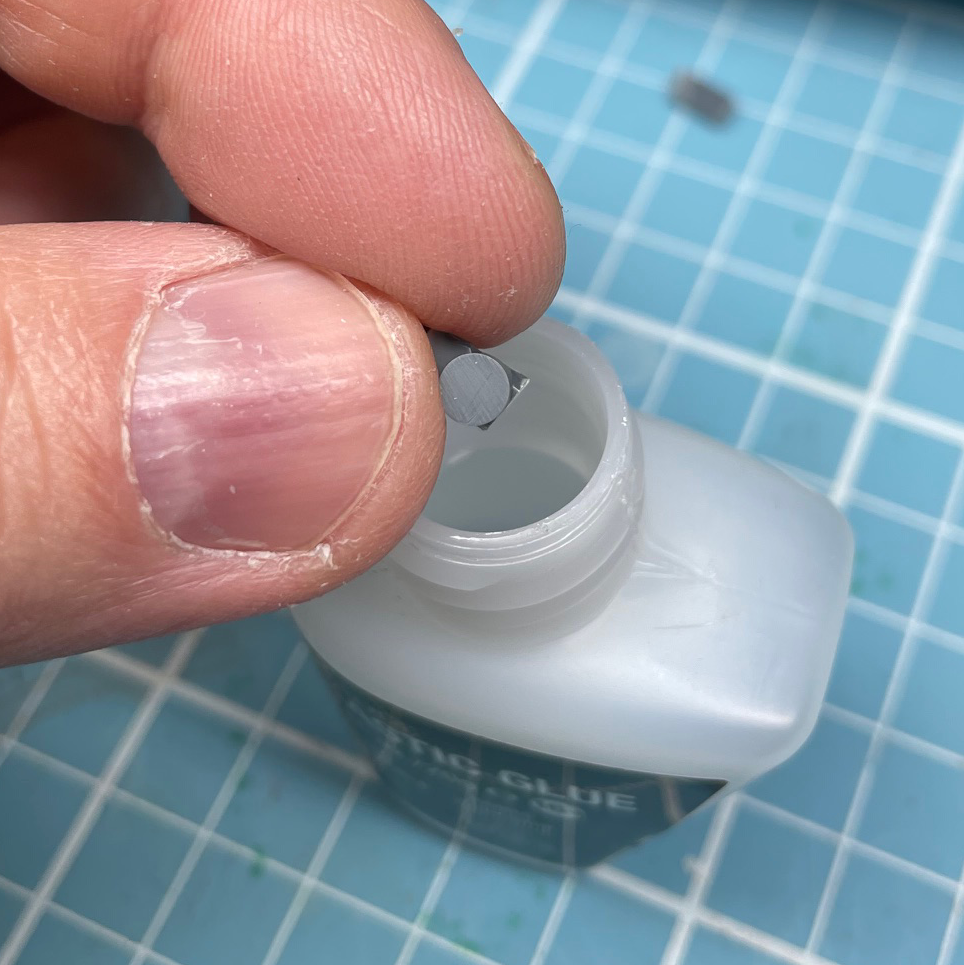
Bottle of Plastic Glue with Removable Lid. I prefer the GW ones, but Tamiya or any plastic glue works; some people like the brush that is in the Tamiya bottles which is totally legit. Partially filled is better than brand new as the plastic will offset some of the fluid. I generally halfway use a bottle before I make Sprue Goo with that bottle.
Sprue Pieces. Easy to come by, just ensure they are HIPS plastic – the standard GW plastic.
Clippers.
Process
Start by taking a decent chunk of sprue and clip that up into small enough pieces to fit through the lid of your plastic glue bottle. The smaller the pieces, the faster and cleaner they will be dissolved by the plastic glue.


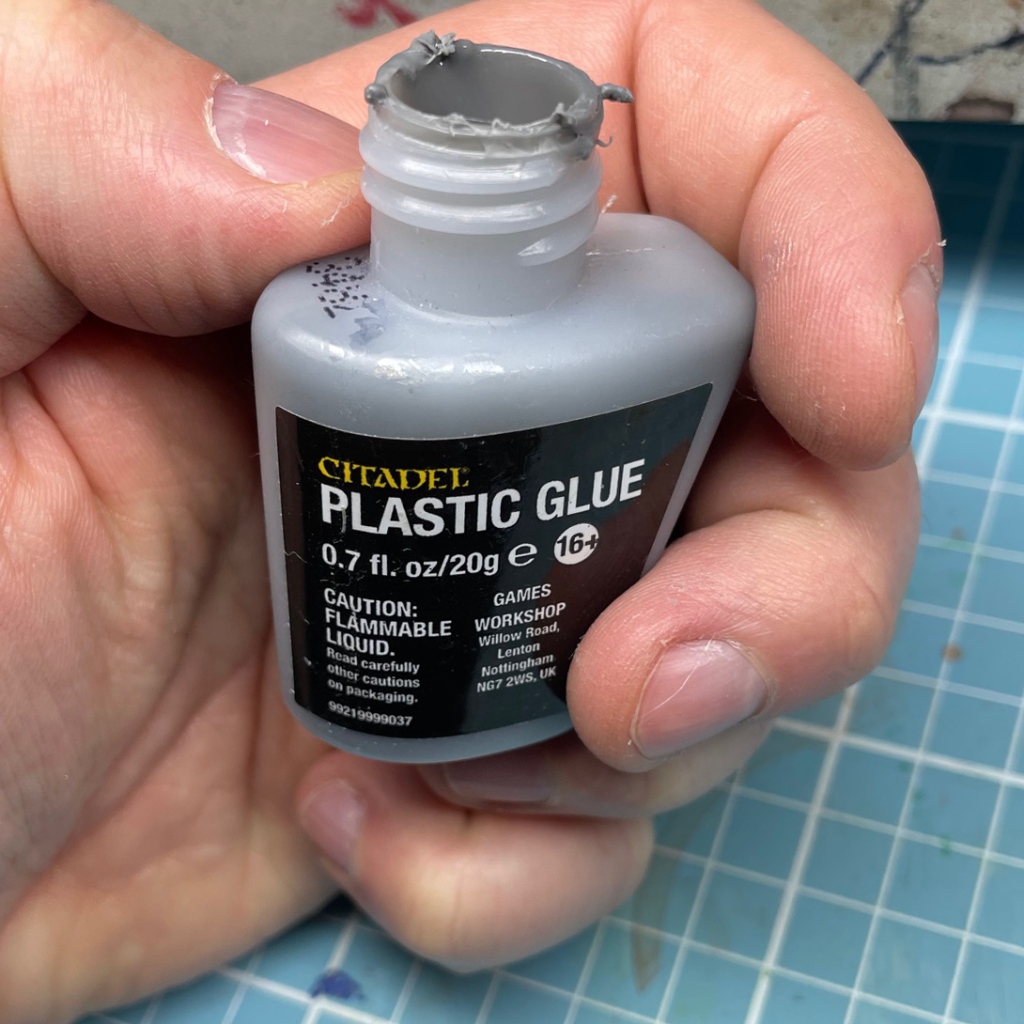
Then you’ll put all those little bits of plastic straight into your plastic glue. This bottle of plastic glue was about half used and I used about 15 cm of infantry sprue to make the goo, so if you’ve got a fresh bottle double that. I’ll say that it’s better to start with less plastic to glue ratio intially, then add more sprue, than adding too much initially and having to go get more glue to thin it down.
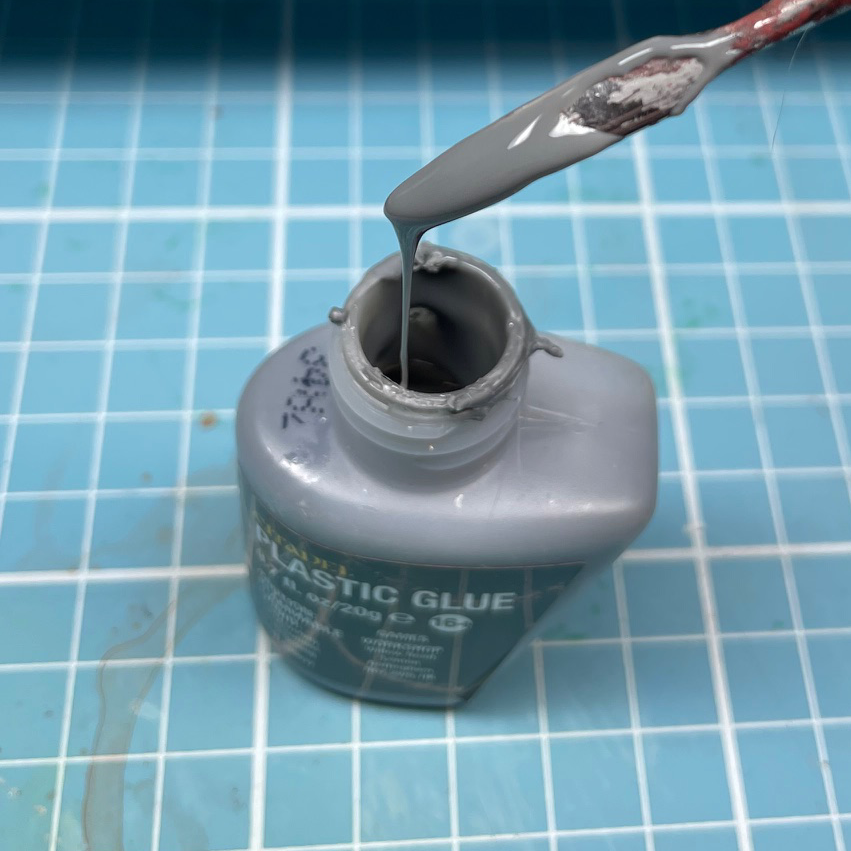
Leave the sprue to dissolve for at least 2-3 hours, or just leave overnight. Shake it up pretty well before you open it each time as glue and plastic sediment will separate. I prefer to use metal dental / clay tools to apply it personally, so grab your metal tool and dip it into your newly created pot o’ goo. It should have a slightly runny consistency but still have a decent amount of body to it, so that you can apply the putty.
Using the Goo
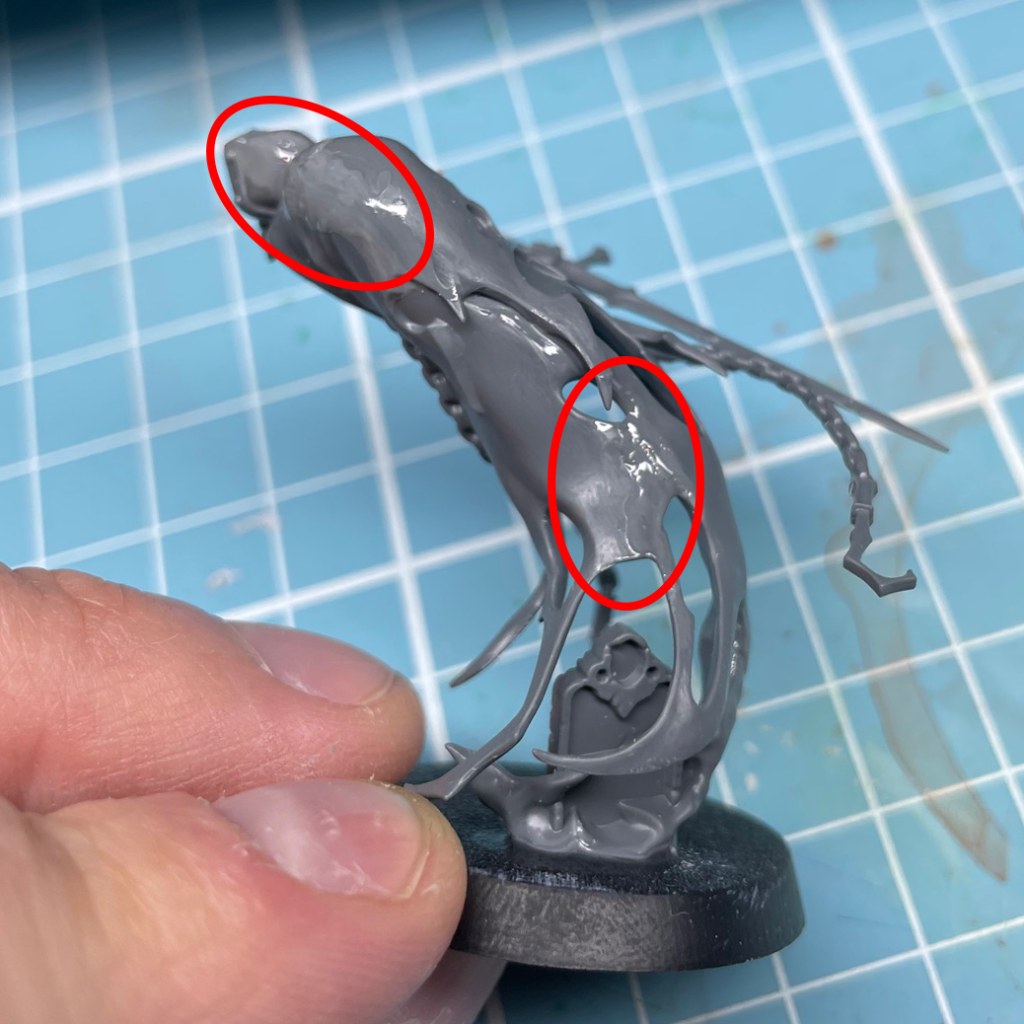
Now you’ve got a nice pot of magic. Like I said before, using it can be a bit tricky. I’ve shown above some seams where I’ve applied Sprue Goo to get the Nighthaunt Bladegheist Revenant cape smoothed out (those of you who have put together these models know how gap-prone they can be on those connections). I generally apply goo on the gap and then go back over the top with a bit of liquid plastic glue, and use a smooth metal tool to clean the application of the goo and make it consistent.
When you apply Sprue Goo to GW plastic it will create a very strong bond as it is dissolving the outer layer of plastic while it hardens. If you use Sprue Goo on a metal or resin model, you can still make it work, but you will likely need to add a bit of thin super glue to the connection after the Sprue Goo has hardened to ensure that it locks into place.
This stuff has so many uses beyond just gap filling and even though I use it often, I still find new uses all the time. Make sure to share some of your Sprue Goo projects with us on the Craic discord or tag us on twitter. Enjoy creating!

If you’d like to help us continue our work, we’d love to have your support. Plastic Craic are 100% Age of Sigmar specialists, publishing regular AOS articles and Patron-only posts. Our Tiers are set to be within everyone’s reach, so please click here to join us on Patreon.