

By @seanzor
Hobbyheads, we’ve been down the rabbit hole of nostalgia, childhood trauma and social media. It’s time to take our floaty, airy fairy ideas and put them into physical application of force. It’s time to grab some sweet, beautiful plastic and make some bad decisions that will lead you to a second mortgage. Stare at yourself in the mirror and say “if this isn’t the best army I’ve ever made I’m going to punch myself directly in the face.” But wait, don’t just throw the house in on this and hope for the best. Let’s at least do a little site preparation first.
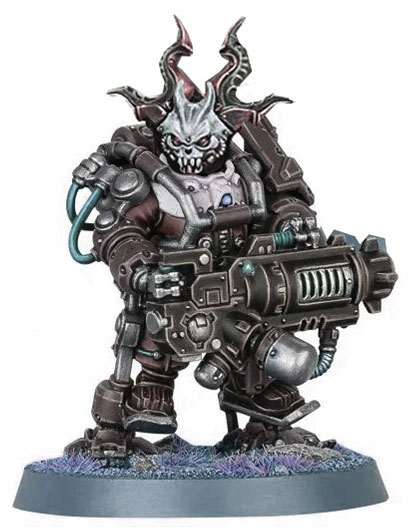
This first part was inspired by a chat I had with Sam over at Unidentified Wargamer. Talking about how I use computer wizardry to make decisions on kits to buy to make a conversion work. My example here is an idea I had for some Kharadron Overlords using Necromunda Corpse Grinder Cult mixed with 40k Leagues of Votann dudes. Chaos KO, CKO? Something like that.
Anyway so if you have all the models in front of you obviously you can just start bumping and grinding them together until you get something you like how it’s looking.
But if you don’t have those models, let me know show you how I match up scales using MS Paint / Photoshop / Gimp or whatever picture editor program you might have on your computer.
First off I want to go acquire pictures of what I want to kitbash together. In this case we’ve got some Votann dudes and Necromunda Corpse Grinder Cult guys.
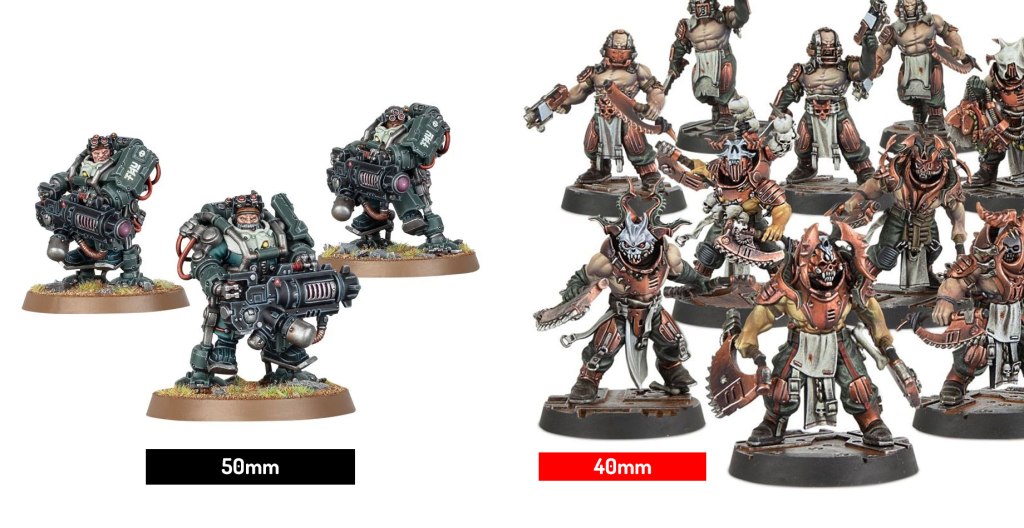
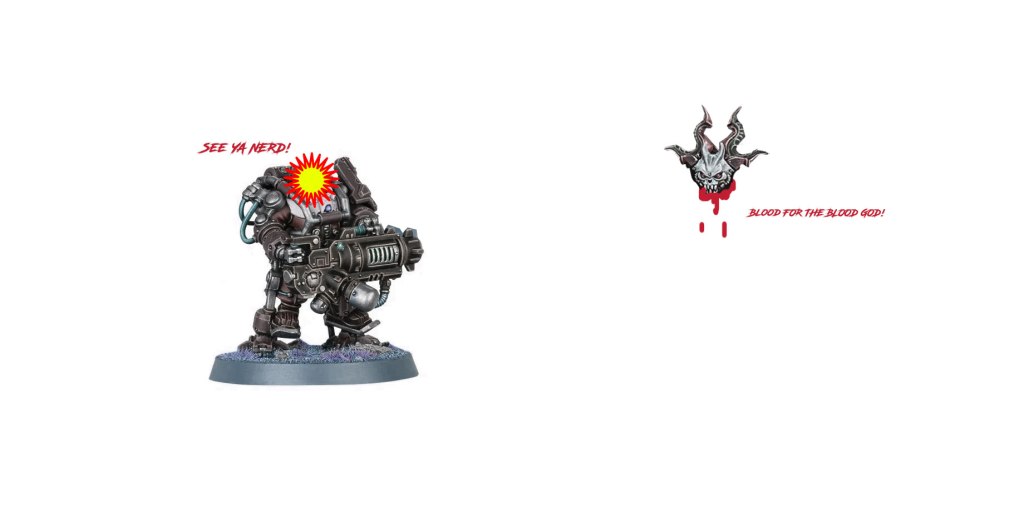
Then I bring them into my photo editor program (this case photoshop). I create a box in photoshop equal to the base size and scale the source image to match that box. Then I can chop the bits I want off the picture and mix and match. In this case I just wanted that one head and the rest of the body and all from the Votann dude. So off I went chopping and cropping.
Now we’re safe to go on our merry way buying plastic and making bad decisions. Some of those bad decisions will turn out to be great and other ones will be absolute rubbish, but the important part is that we’re trying right? Make sure to give yourself the chance to see one of these attempts go all the way through to success: you might need to cut something off, add a little something on, prime it, paint it and base it before it all fits together but I’ve got faith you’ll get there.
Now… I want to mention tools. Whether you’re just starting out or deep into the hobby, there’s a tool kit that I recommend, and everything listed here is stuff I use constantly.
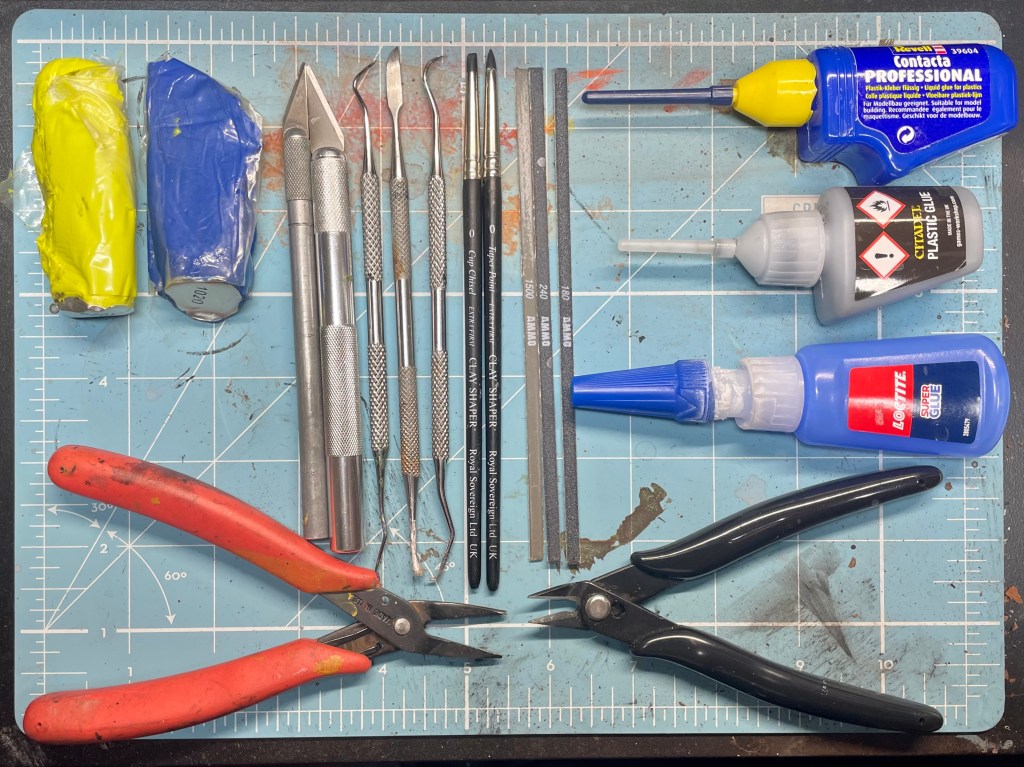
Hobby Knife / Knives – You’ll want one that’s sharp and one thats relatively dull. Normally I just use a sharp one for a while until it can be promoted (demoted?) to mold line removal, but if you don’t have a used blade you can carefully put superglue on the end to smooth it out and run the sharp edge across some sandpaper perpendicular to the cutting edge to dull it and make less likely to dig into plastic / resin.
Sanding Sticks / Filing Pads – These little buggers are so useful for cleaning mold lines / connection points. Having a nice assortment of grading on the sandpaper will make them even more versatile, but 240 grit is my most commonly used.
Clippers – I generally just try to find precision nippers that are pretty cheap. You can spend $40-50-100 on these, but I break them so often I try to keep them under $15 / set.
Pliers – These are like half the width of normal needle nose pliers and I use them for lots of things. Bending plasticard, holding stuff in place…
Dental Tools – I have about 10-15 different layouts of dental tool, but the 3 here are my most used (and pretty grubby)
Plastic Glue – For gluing plastic together and smoothing plastic mold lines in hard to reach places.
Super Glue – For gluing anything plastic glue can’t glue
Sprue Goo – In that citadel plastic glue bottle there’s about half of the leftover sprue from a unit-size sprue, chopped into bits and dissolved into plastic glue to make a liquid / putty that is amazing for filling gaps on (generally, you can make it work on other materials as well) plastic models.
Green Stuff / Milliput – For scratch sculpting and filling gaps on models that are mixed medium
Silicon Sculpting Tools – These little buggers are amazing. Green stuff and milliput don’t stick to them much so that allows you to push and prod the stuff around without much drama.
Cutting Mat – Protect your desk surface and gives a nice smooth run for a blade to cut plasticard, green stuff, whatever.
*Optional* Jeweler’s Saw (Not Shown) – a nice saw blade for your hobby knife or jewelers saw can get you through some very intricate and intense conversion projects. Mine has been tucked away for a while since it needs a new blade, but a very very handy tool nonetheless.
There are so many more things you ‘can’ buy for this hobby, but this is a good set of stuff for the building / converting side of things that will carry you through quite a lot.
Anyway, I hope that is a nice bit of knowledge for you on this instance of Hobby Aesthetics. See ya on the next!

If you value what we do, and you enjoyed this article, please consider supporting us on Patreon. It really means a lot.

One thought on “HOBBY AESTHETICS: BUILDING A FOUNDATION AND TOOLING UP”