
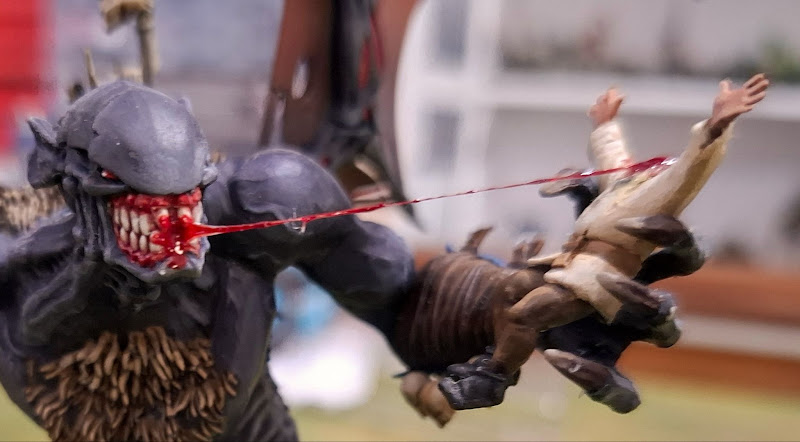

Shylock, in the Merchant of Venice, said ‘If you bludgeon me with a stonkin’ great club, do I not bleed?’ Pretty sure it was something like that anyway. Blood and gore have been a big part of Warhammer modelling since old Harry the Hammer started swinging his sledge of allegiance around, and with the release of the new Ogor stuff, it’s probably a good time to share some of my favourite ways of modelling blood and gore. So here’s my tool kit, a couple of techniques, and some different products for creating a bit of crimson carnage.
The Toolkit
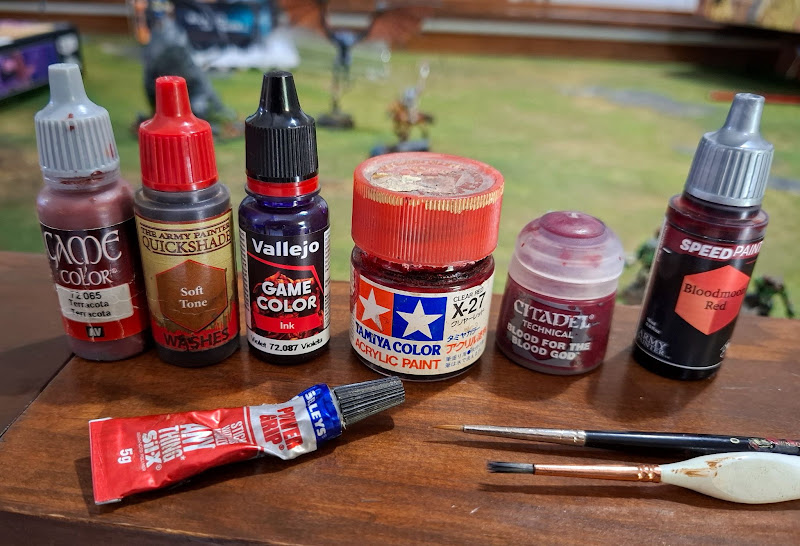
I like to use:
- A reddy brown. Often Vallejo Game Colour Terracotta
- Army Painter Soft Tone (or Citadel Seraphim Sepia)
- Vallejo violet ink
- Tamiya Clear Red
- Blood for the Blood God
- Red Contrast / Speedpaint
- Tacky multipurpose glue (UHU, Selley’s, Multi Grip, etc)
- Brush with a nice point for controlled stippling
- Old rough nylon brush for flicking and stippling
Techniques
Blobbing
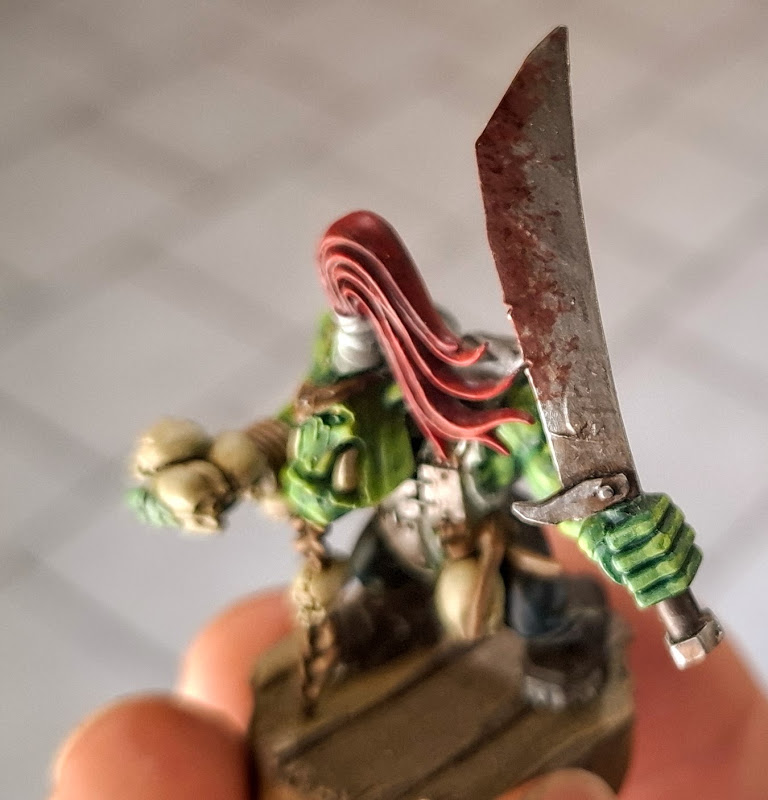
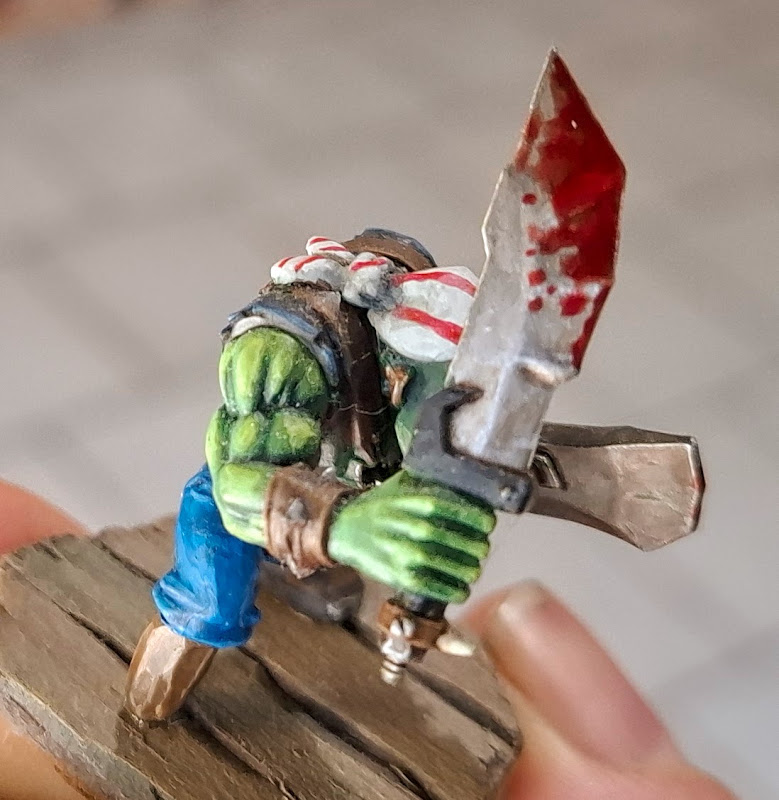
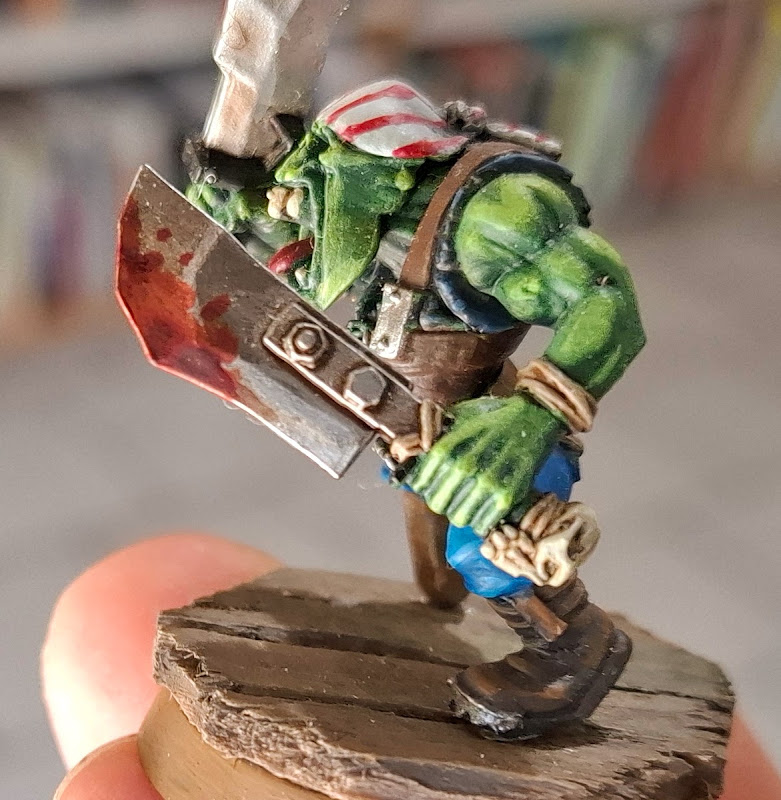
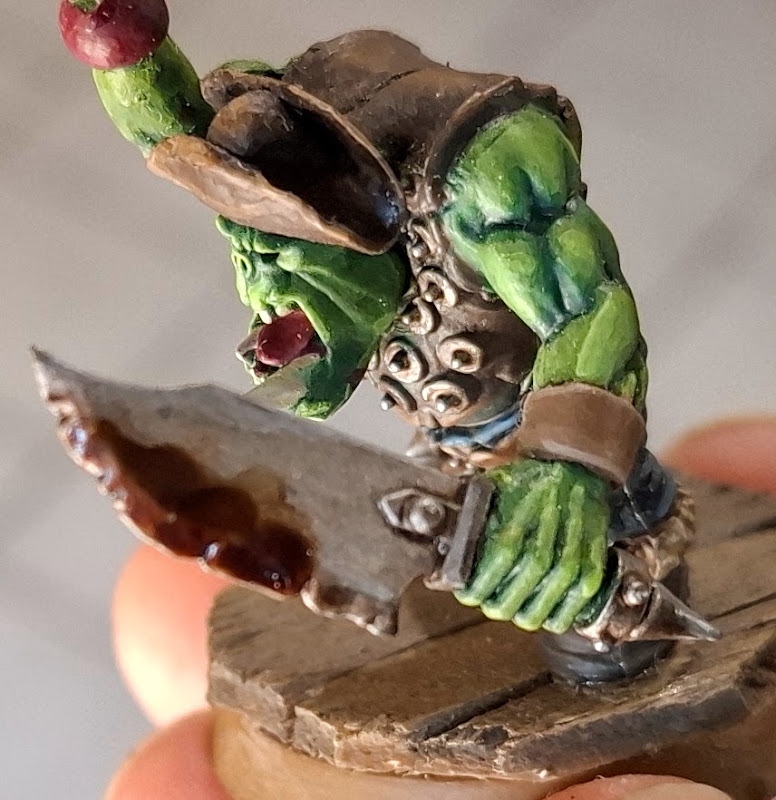
This is the bread and butter of blood effects. Just glob a bunch of your preferred paint onto a weapon. There’s a couple of things to keep in mind here:
Firstly you want wonky edges – blood is a liquid, so will move around on an object before it settles and dries.
Secondly, think about varying thickness – thinner toward the edges of the contact point, and thicker toward the area that made contact with blood. On a blade like this it will be thicker toward the edge of the blade. On a fist, it will be thicker around the knuckles.
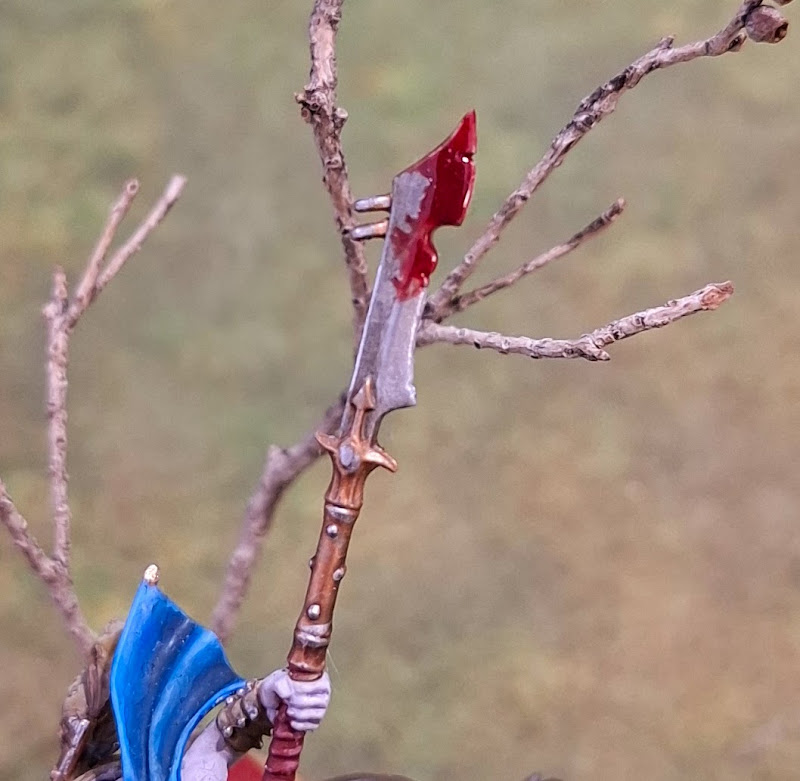
Just glob it on!
Also think about the motion of the weapon; a blade slices, so will gather blood as it cuts, rather than splattering. A fist or a hammer bludgeons, so the force will cause the blood to explode out, creating more splatter and a wider area of blood. To create that splatter, there are two main techniques:
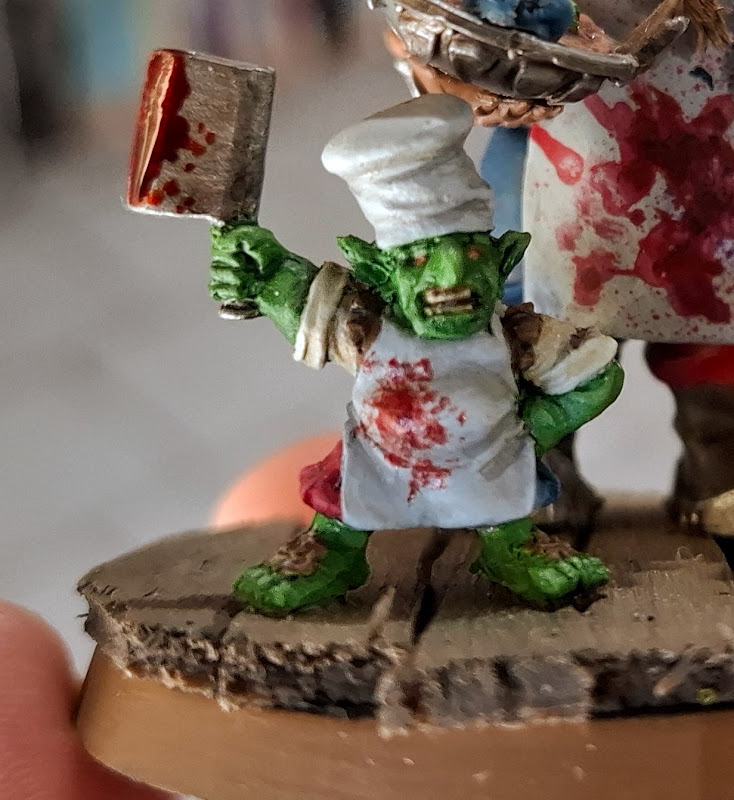
Flicking: This creates a more natural, but less controlled splatter. This is great to indicate a model has just slit their enemy’s throat, or butchered a wild boar or something. The technique is fairly simple – get some of your preferred paint (more fluid and less viscous is better – thin Blood for the Blood God with flow-aid) on an old nylon bristle brush. Nylon bristles work better than natural bristles, as they are thicker. IMPORTANT: always do a few tests on a piece of paper first. Work out how much paint you need, what direction to flick and how far away to hold your brush. Use the finger of one hand to flick the paint of the bristles of the brush. Congratulations, you are now the Jackson Pollock of viscera!
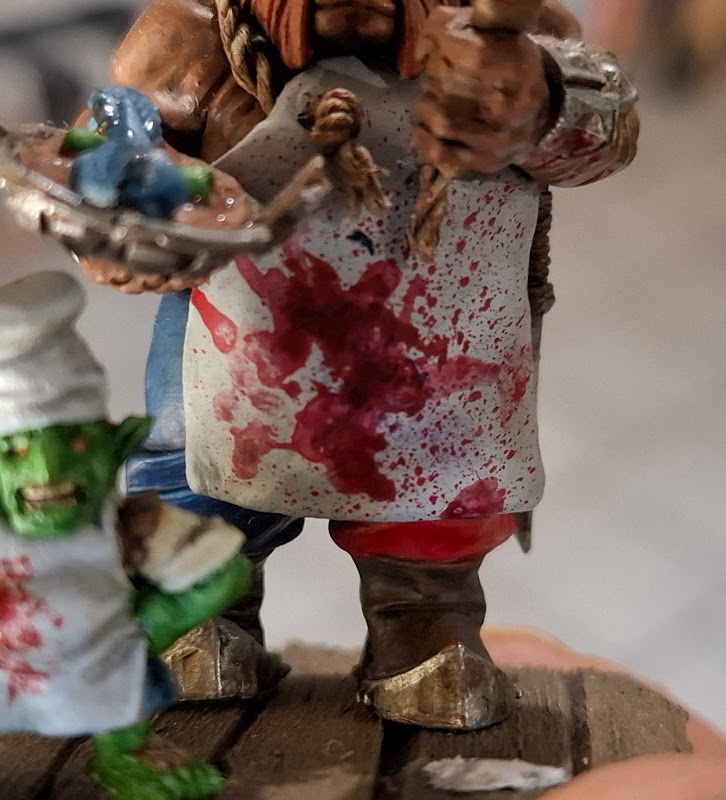
The butcher’s poor wife needs to invest in some NapiSan…
Stippling: This is a more controlled, but less natural, way of creating splatter. Remember that old nylon brush we were using just before? Lets grab it again, but this time instead of flicking, we’re going to stipple. You can do this with a bit of sponge, as well. Get a little bit of paint on the end of the brush or sponge, wipe off some excess, and gently dab onto the desired area. You can use your sharp point brush for bigger and more controlled splats.
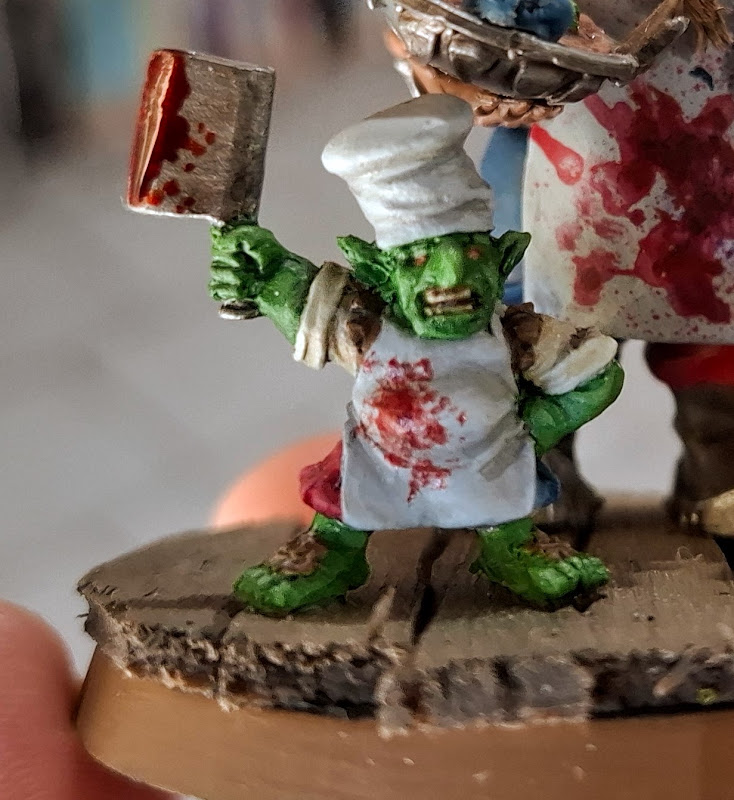
I hear goblins make the best sous chefs…
Gore and dripping blood: This is my favourite thing to do with blood. It’s a technique that’s been around for ages. You need some tacky glue and a toothpick. Squirt out a bit of glue onto a bit of plastic or your palette lid or something, and use the toothpick to pick some up. To make a drip, pop some glue onto your model and string it straight down. Use some scissors to trim off the glue string where you want it:
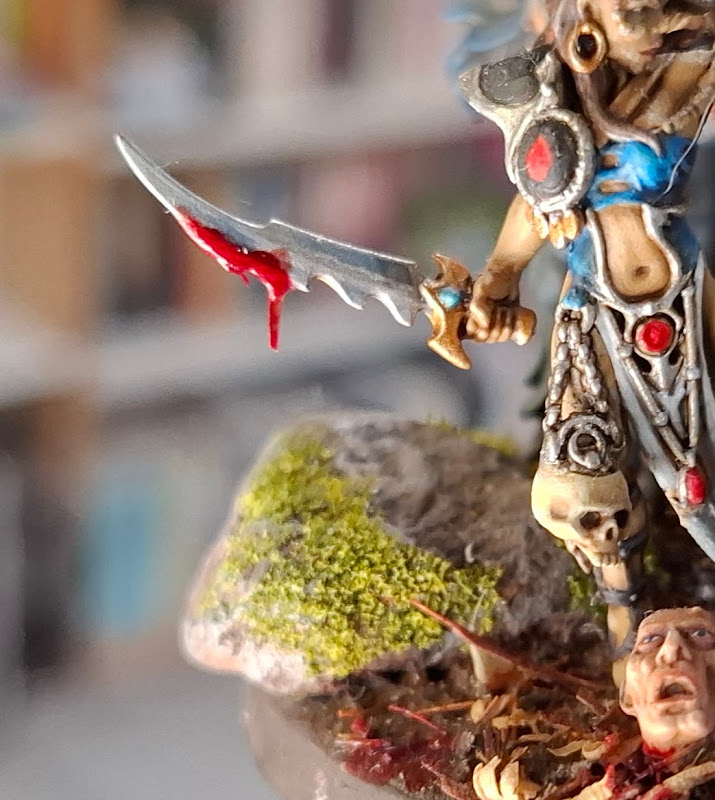
To make gore strings, just pop some glue onto one side and slowly string it out and connect it to the other. The key is to go slow, otherwise your string will be too thin and break.
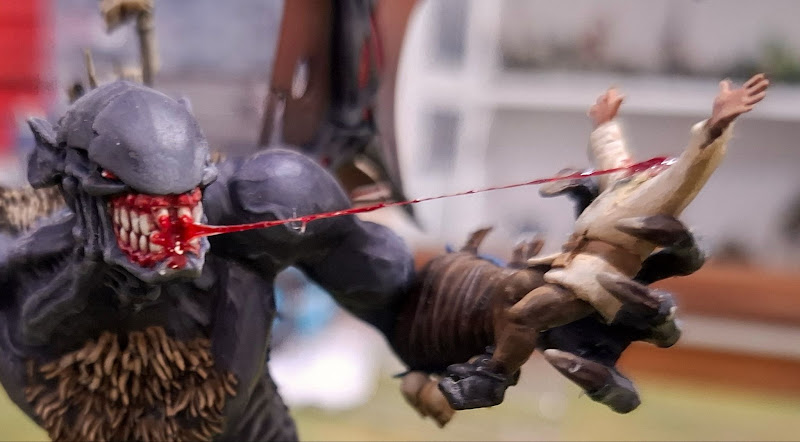
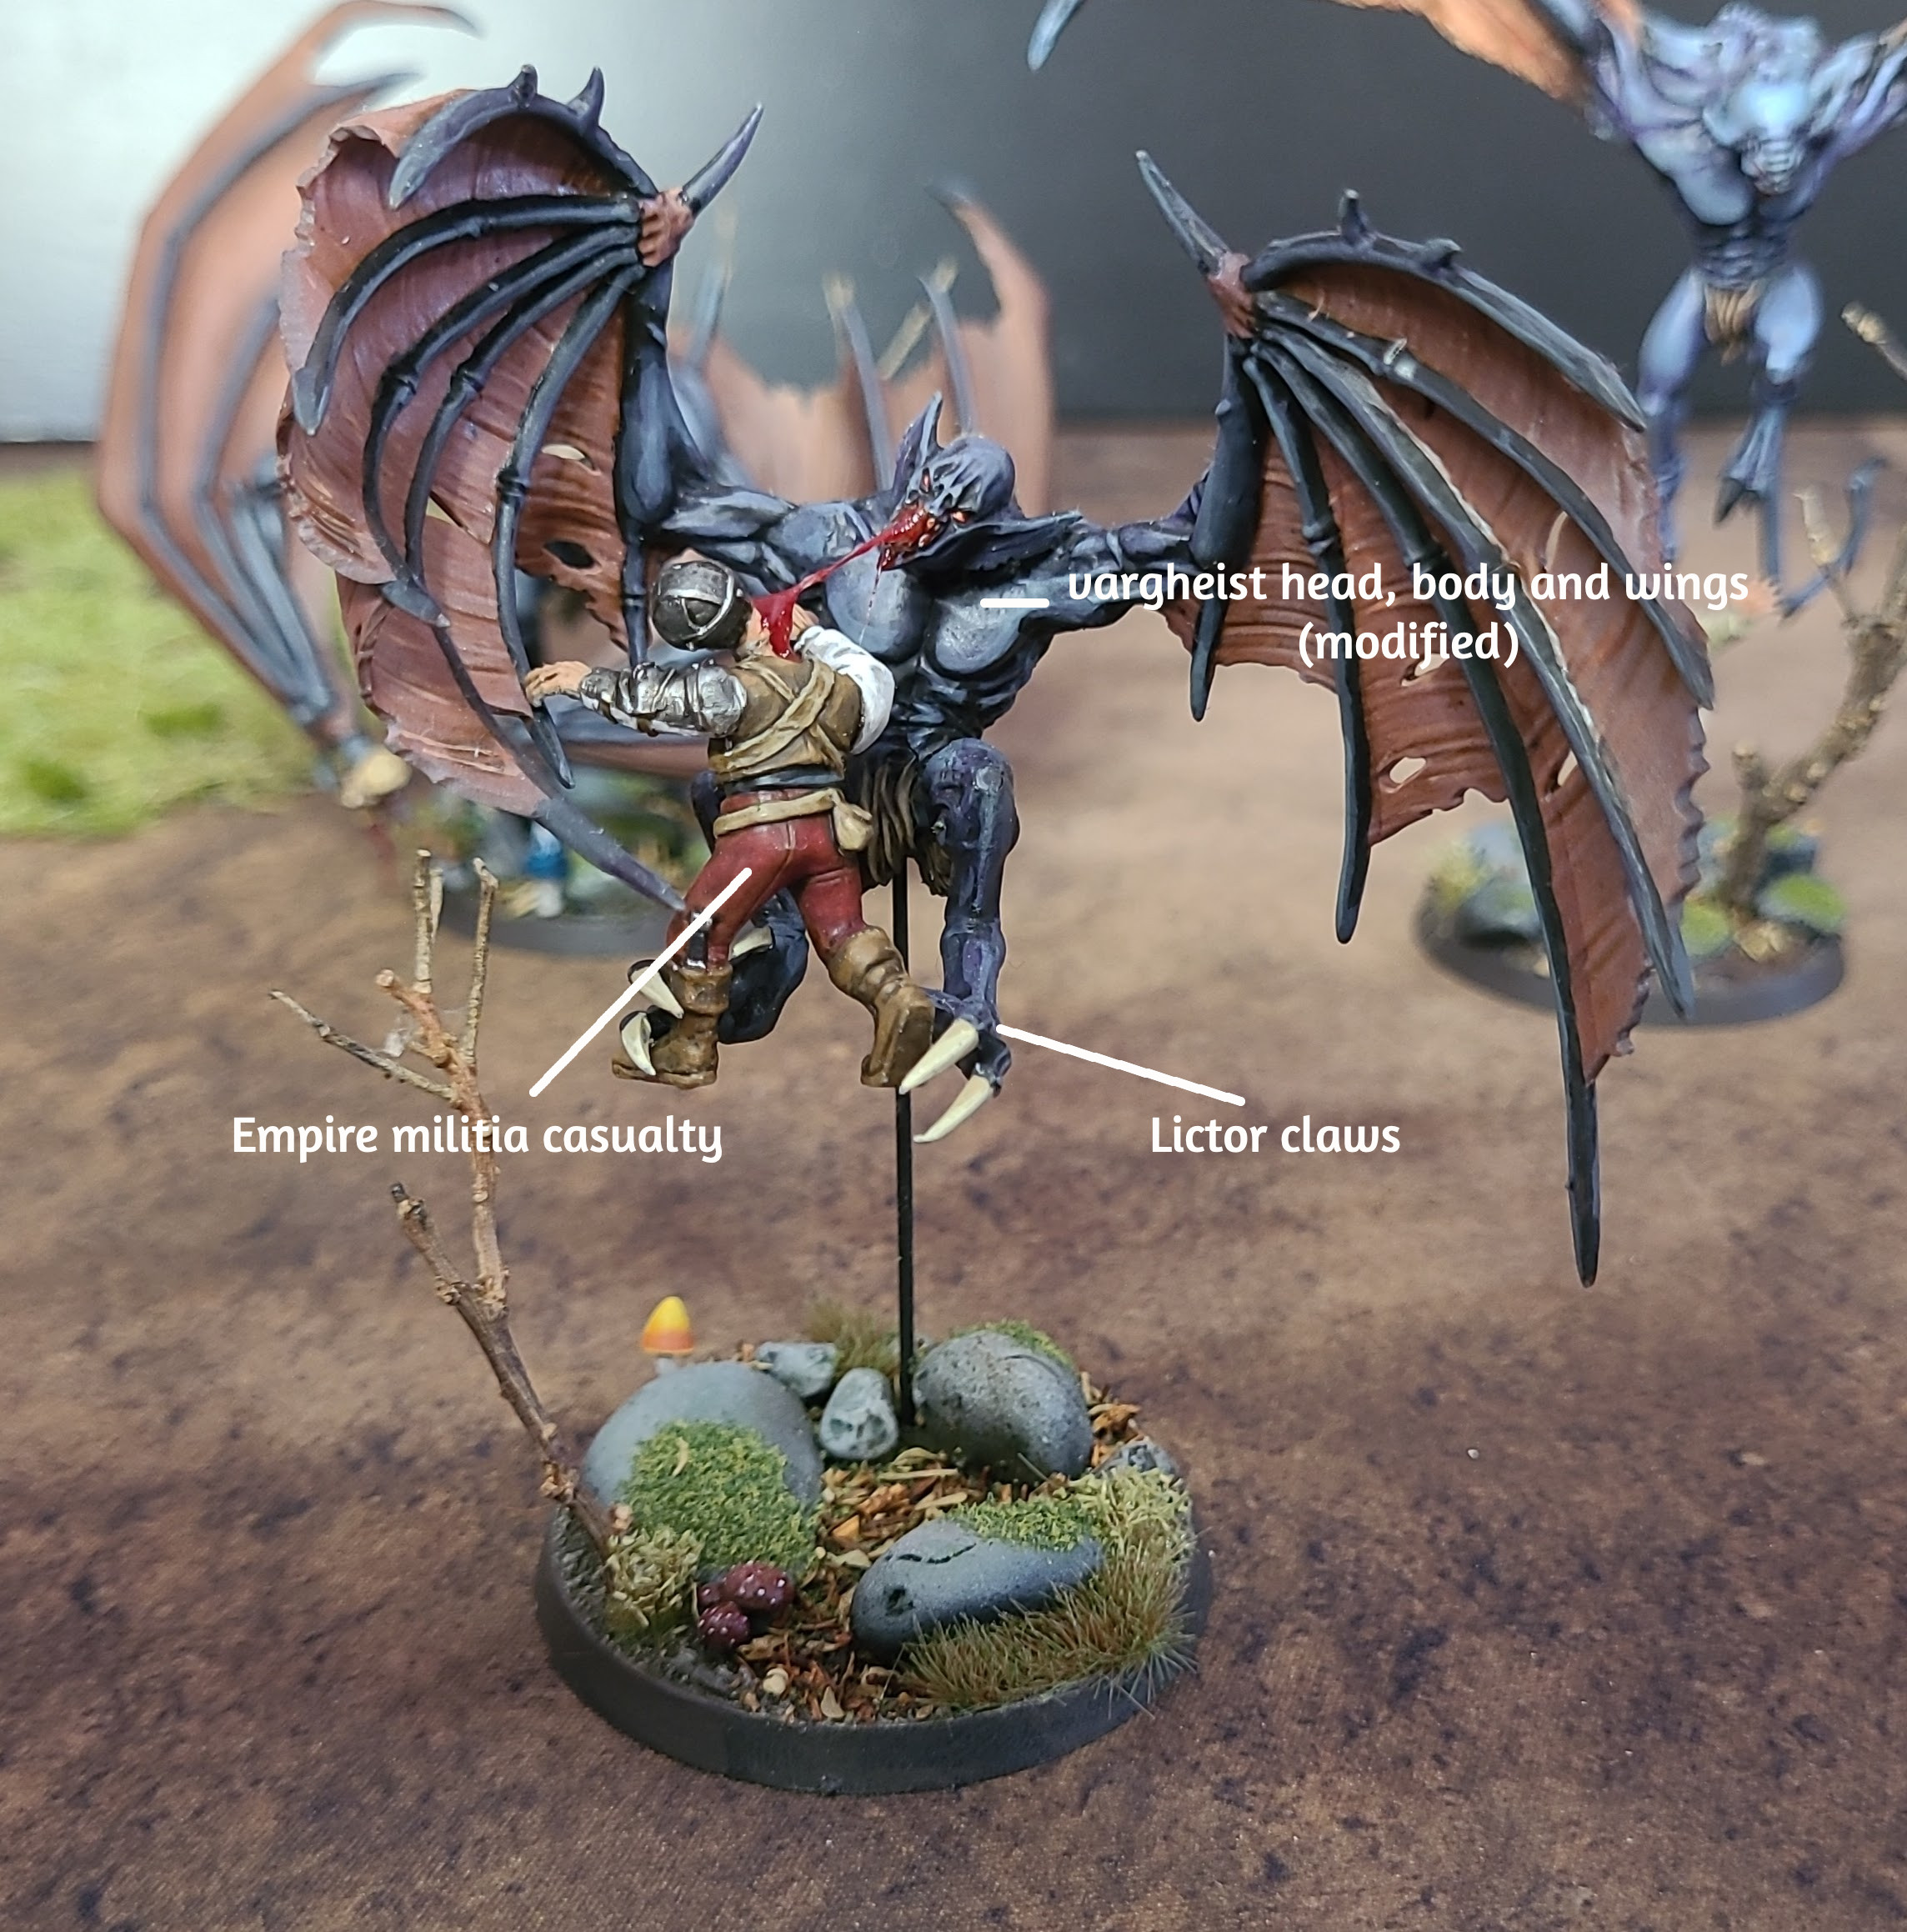
In both instances, finish it off with a gentle coat of a glossy red or blood effect!
Dried blood: If you want your blood to look dry, it needs to be darker and less glossy. All I do to achieve this is mix a bid of red-brown with Blood for the Blood God. This desaturates the colour and makes it more matt.
Blob and stipple as you see fit:
Blood Effect Types
Tamiya Clear Red: I love this stuff to make super glossy, red fresh blood. It’s a little darker than B4tBG, and a little glossier. It’s my go-to fresh blood paint.
Blood for the Blood God: This is probably the easiest for most people to get hold of and it’s a pretty darn good product. It’s quite red, which is great for fantasy blood and gore. It also offers great viscosity and is really easy to use.
Bloodmoon Red: I haven’t tested Blood Angels Red contrast, but I imagine it would be similar. This is more transparent and a little less glossy than the other two. It’s great for building up layers, though – because it’s thin, you can create some nice tonal variation with just the one paint.
Army Painter Soft Tone: If you want really dark blood – Orruk blood perhaps – a few layers of Army Painter Soft Tone looks pretty good. I’ve not tried it with Seraphim Sepia, and I think it’s a slightly thinner wash than the Army Painter counterpart, but it should work in a similar way.
Well that’s about it from me – hope some of this is helpful and have fun painting blood!
If you enjoyed this article, you can see how Tim brought some of these techniques together in winning Coolest Army at Cancon 2024:

If you’d like to help us continue our work, we’d love to have your support. All Patreon Tiers include Discord access, exclusive articles and regular contests. Our Tiers are priced to be within everyone’s reach, so please click here to join us today!





Building a blood-and-gore toolkit around terracotta, soft tone, violet ink and Tamiya Clear Red is exactly the kind of practical paint post the new Ogor wave deserves — Shylock jokes optional but appreciated. Sharing multiple products instead of one branded miracle wash makes it usable on the table. I run Colony Flow, a guide site for an ant colony puzzle game, and I enjoy hobby write-ups where the mess itself becomes part of the craft.
LikeLike